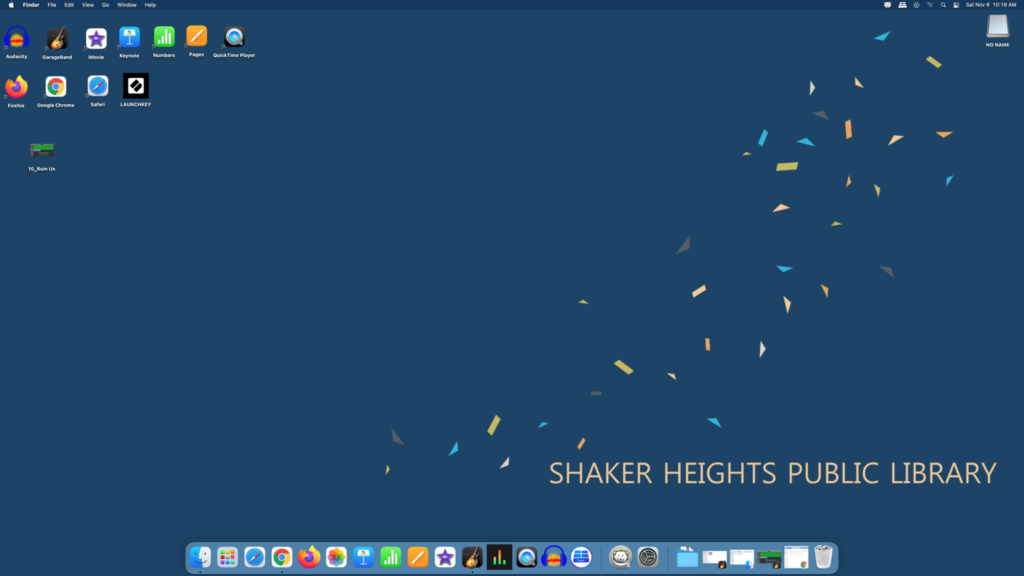
When exporting your project, you can export it as a GarageBand file you can return to for editing or you can export it as a file that can be accessed without GarageBand.
1. To save your project to a flash drive or cloud-based storage platform, click the Share menu and select Export Song to Disk.
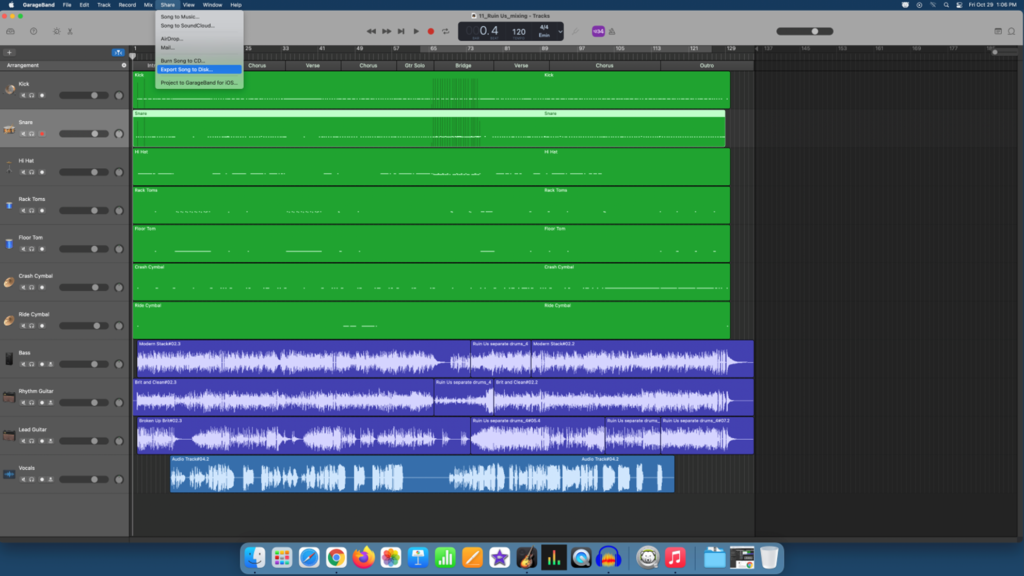
Next, choose your format. AAC and MP3 are compressed, smaller files. AIFF (Mac compatible) and WAVE (Mac & Windows compatible) are uncompressed, higher-quality files. Choose the Desktop for the location and select Uncompressed 16-bit for the quality.
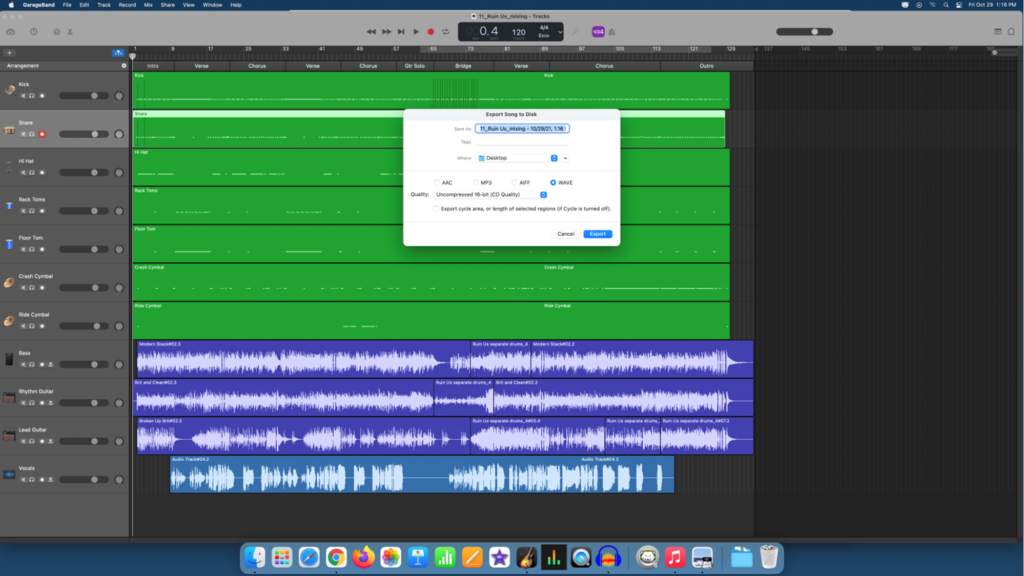
Next, a dialog box will appear that says Bouncing…. as your project exports.
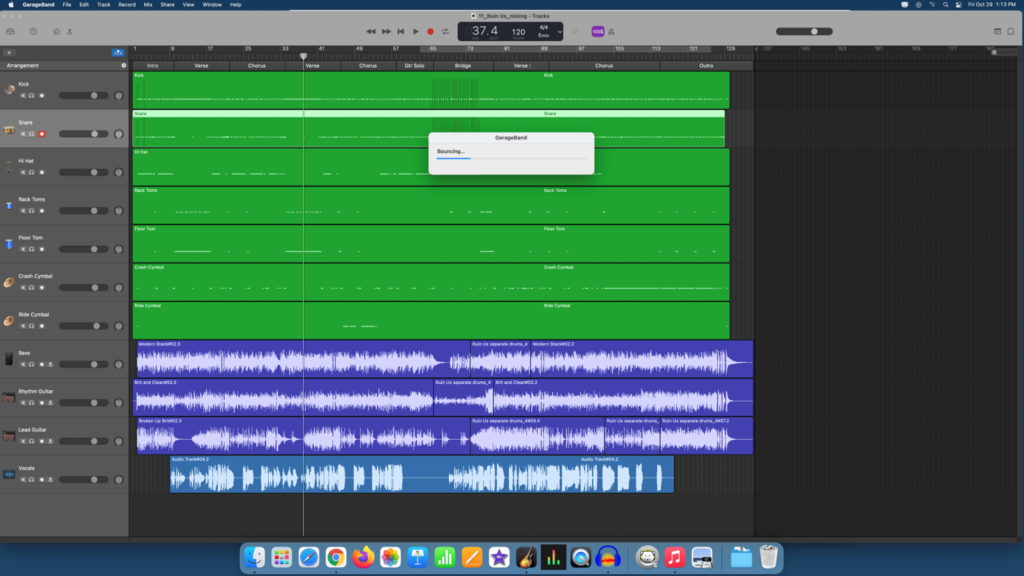
Your exported project is now saved to the Mac’s desktop.
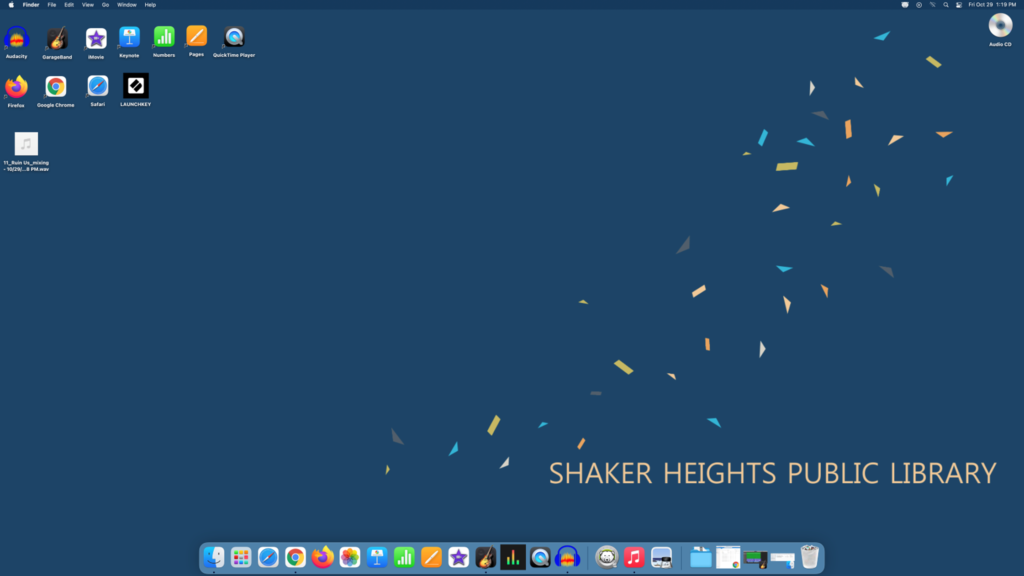
2. To upload your project to a cloud-based storage platform, navigate to the platform’s website and upload your file directly from the desktop.
3. To upload your project to a flash drive, insert a flash drive in the Mac’s USB port.
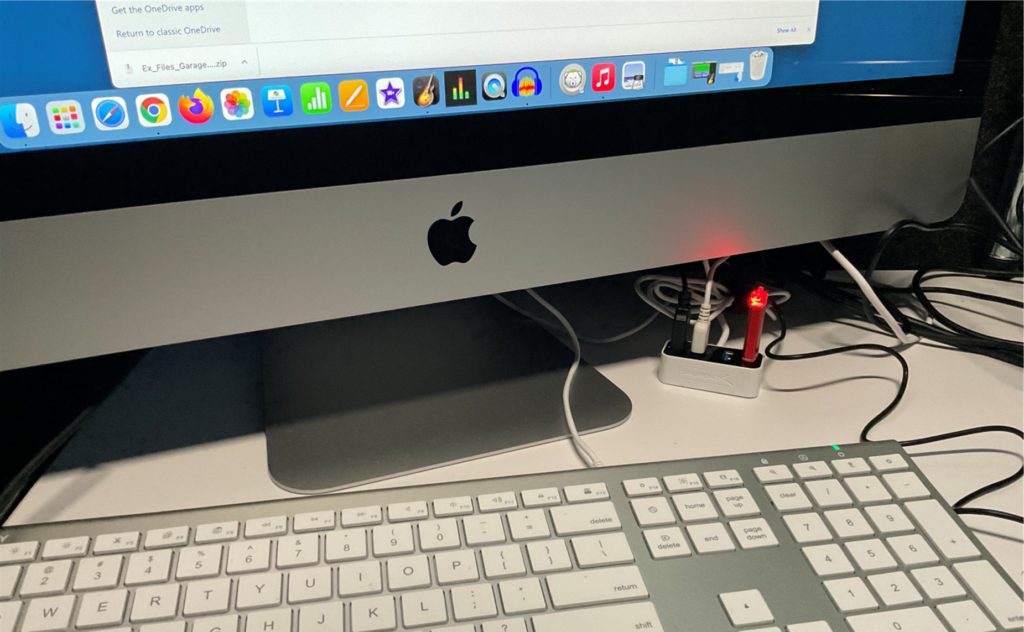
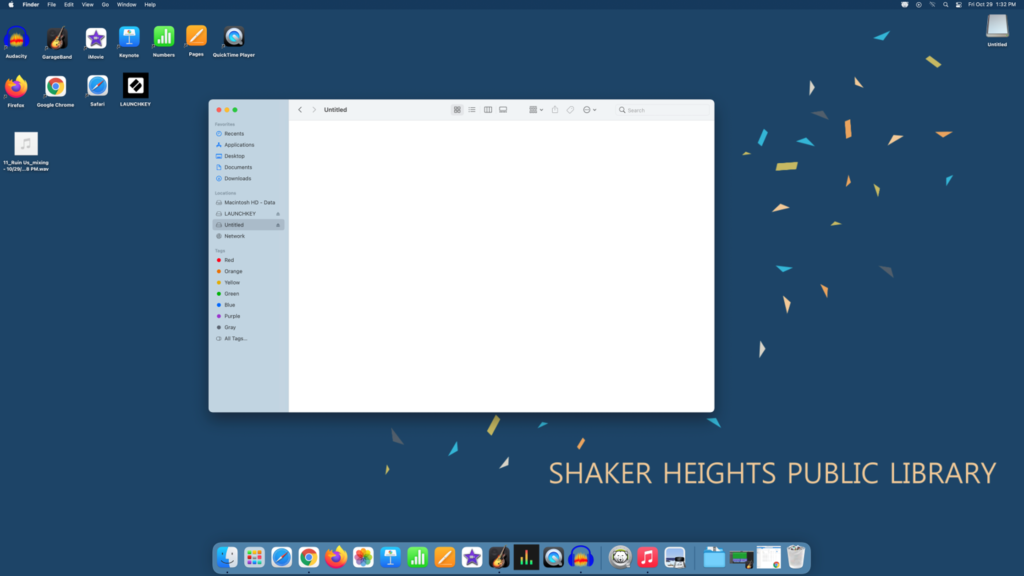
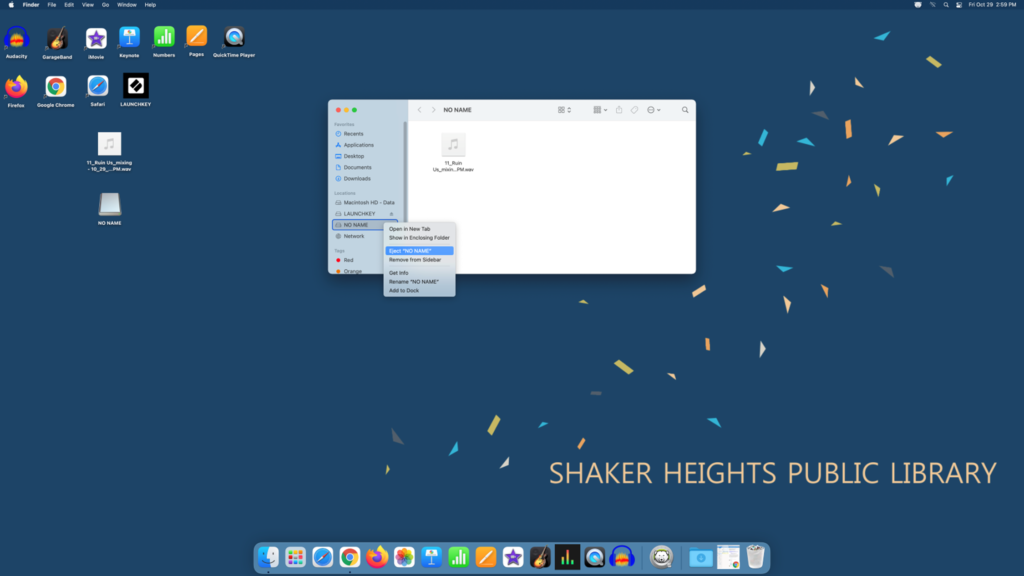
Next, open the Finder on the navigation bar and select your flash drive from Locations.
Drag and drop your saved project from the desktop to your flash drive.
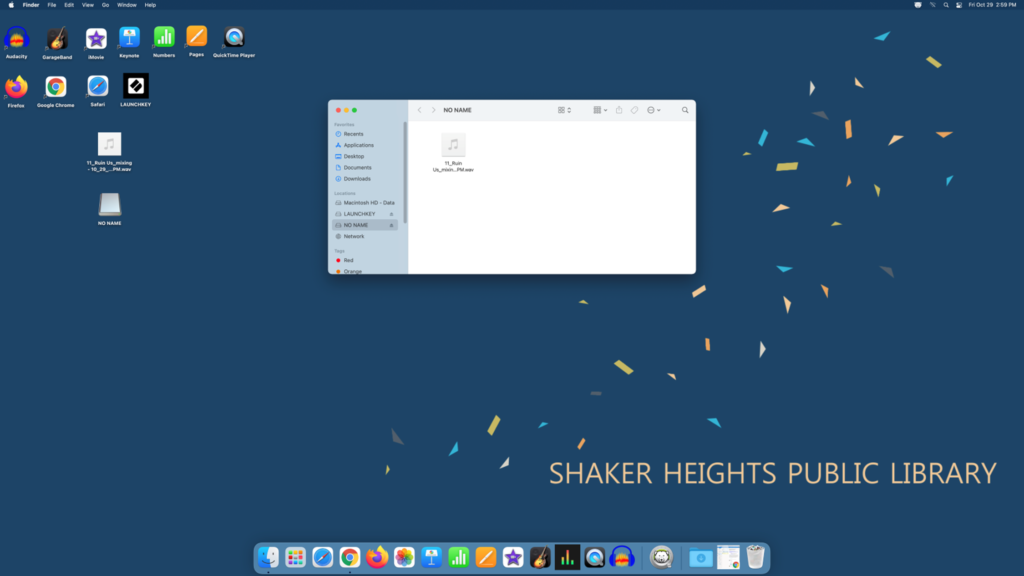
Once you are finished uploading, eject your flash drive.
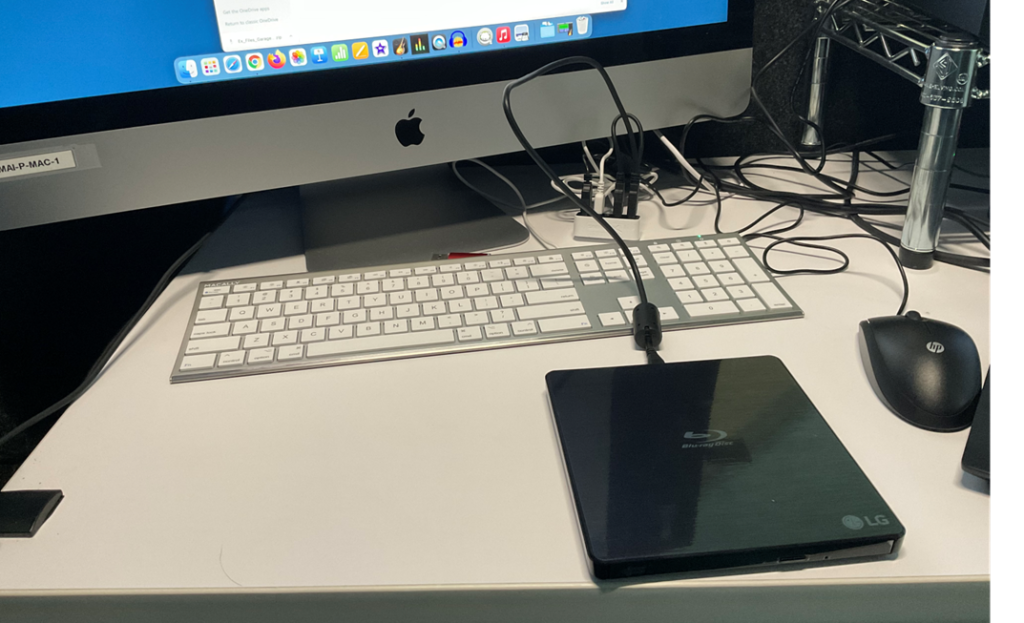
4. To burn your project to a CD, start by connecting both of the Blue-ray disc writer’s cables to USB ports and insert a blank CD.
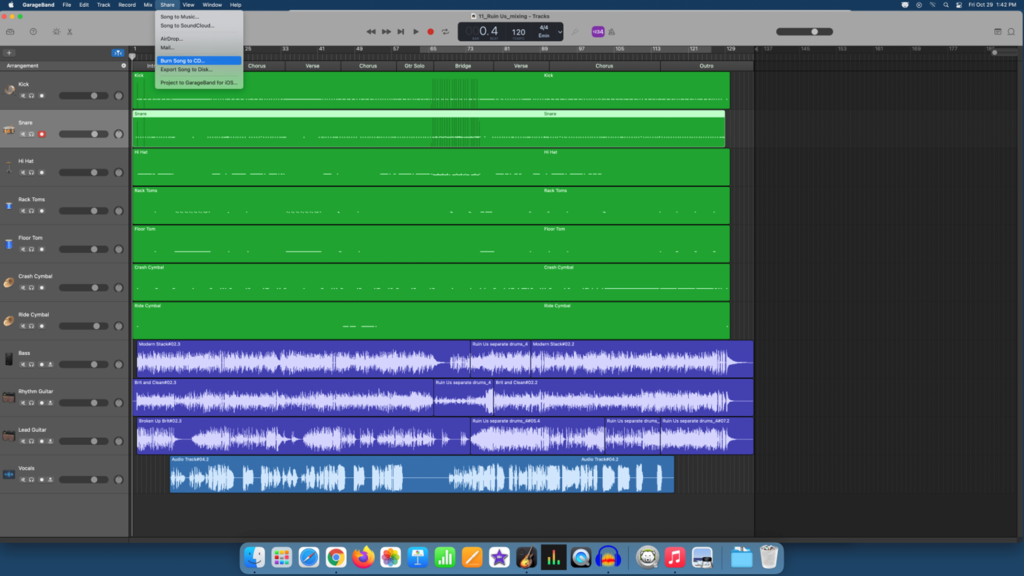
Next, click the Share menu and select Burn Song to CD… from the dropdown menu.
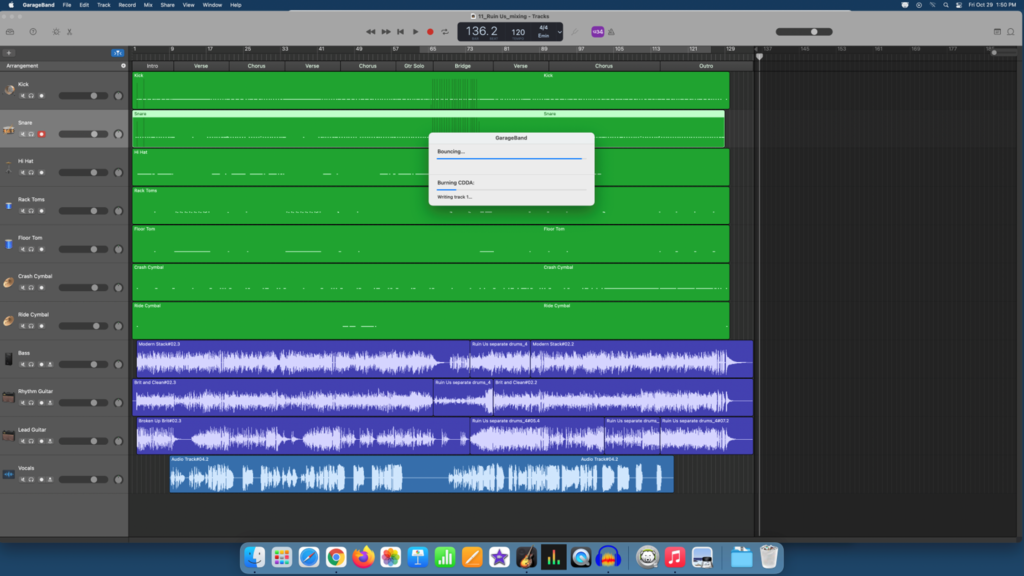
A dialog box that says Bouncing… will appear as your project prepares to burn to a CD. Next, a box will appear that says Burning CDDA to confirm burning.
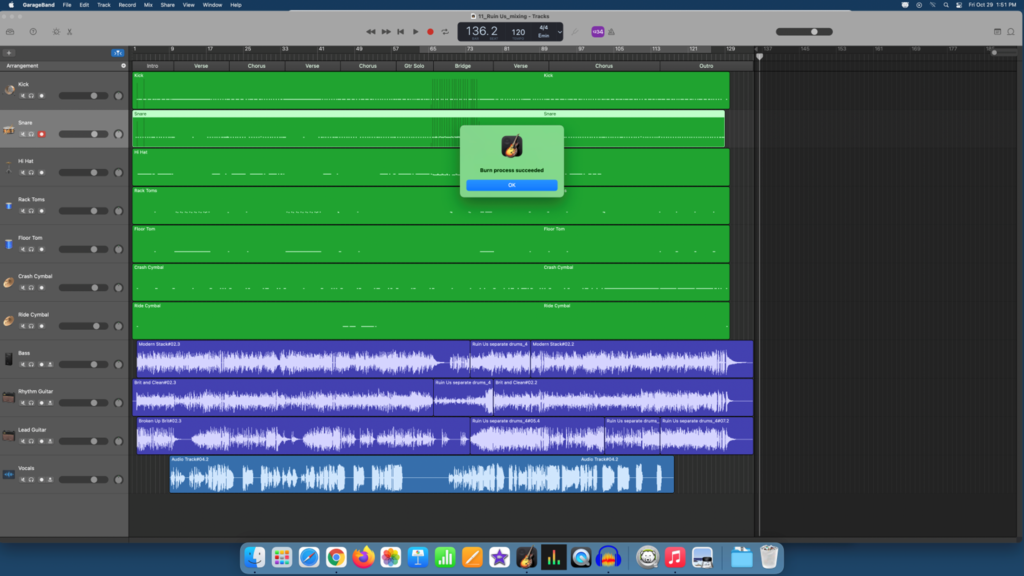
Once the burning completes, a dialog box will appear that says Burn process succeeded and your CD will eject from the player.
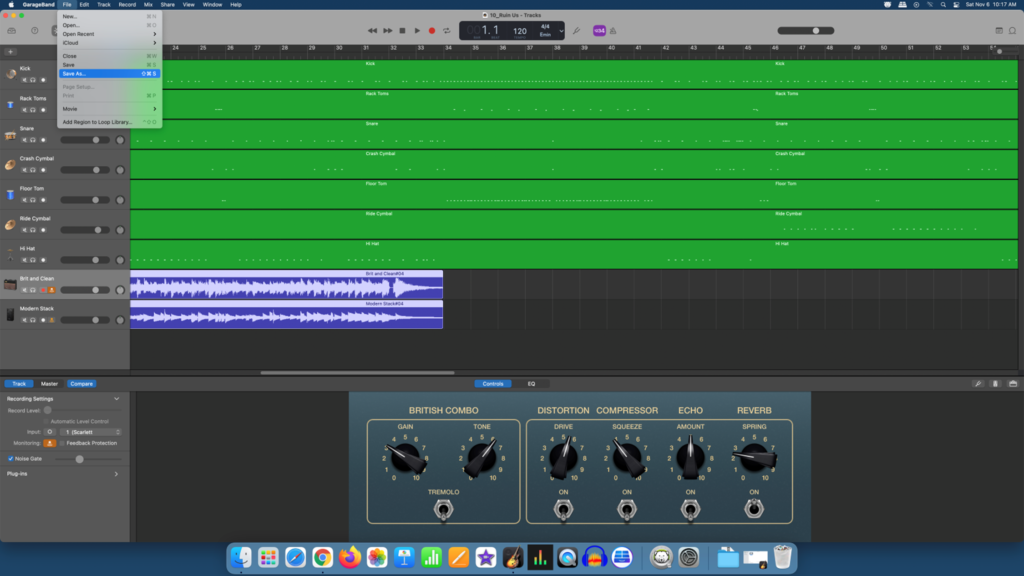
5. To save your project as a GarageBand file, click on File and Save As from the dropdown menu.
Next, name the file and select the Desktop for the save-to location and click Save.
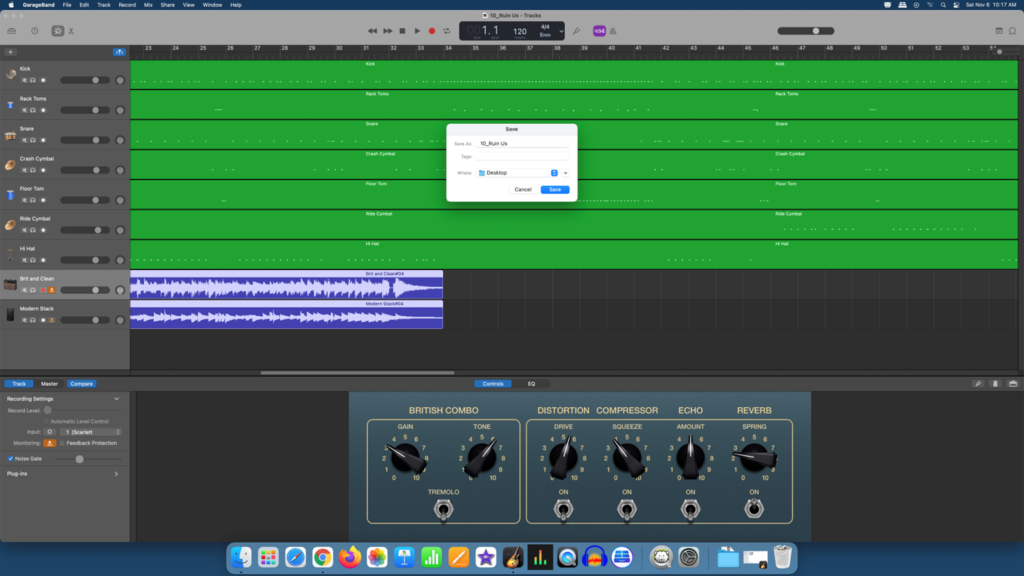
Your project is now saved to the desktop and can be exported to a flash drive or a cloud-based storage platform.
