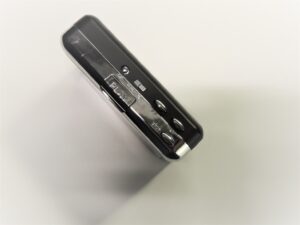
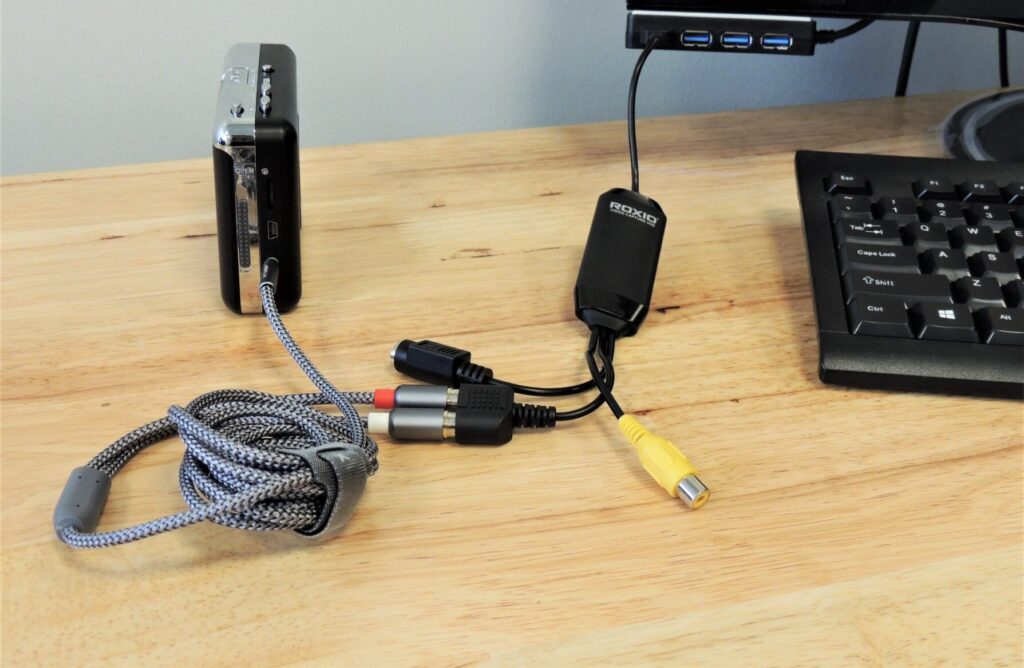
1. Open the Cassette Capture device by sliding the open bar down. Next, insert your cassette with side 1 facing out.
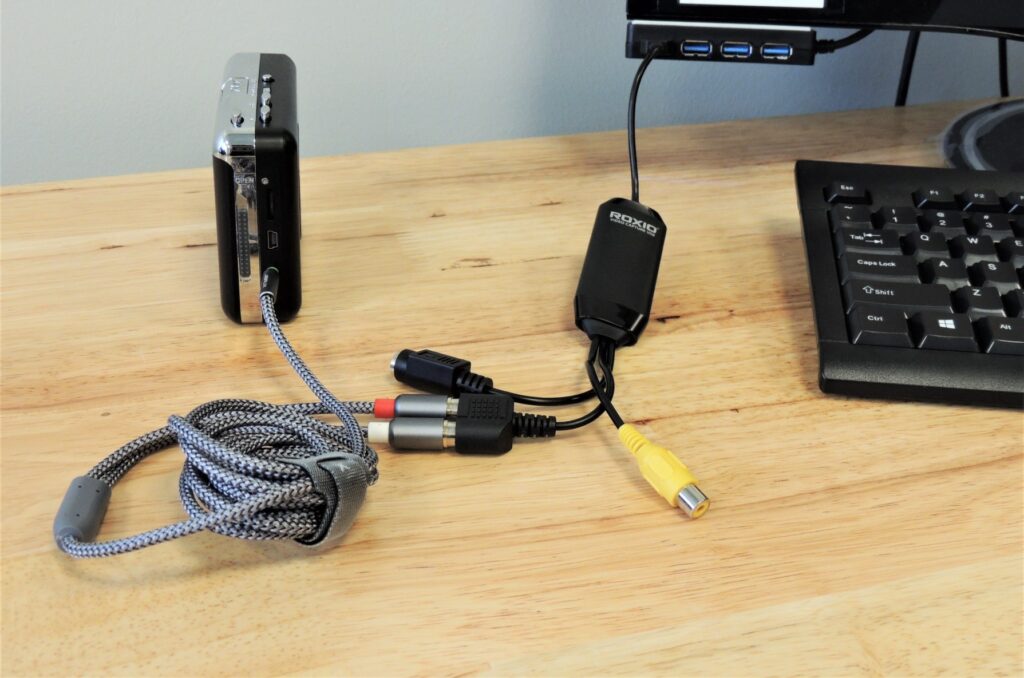
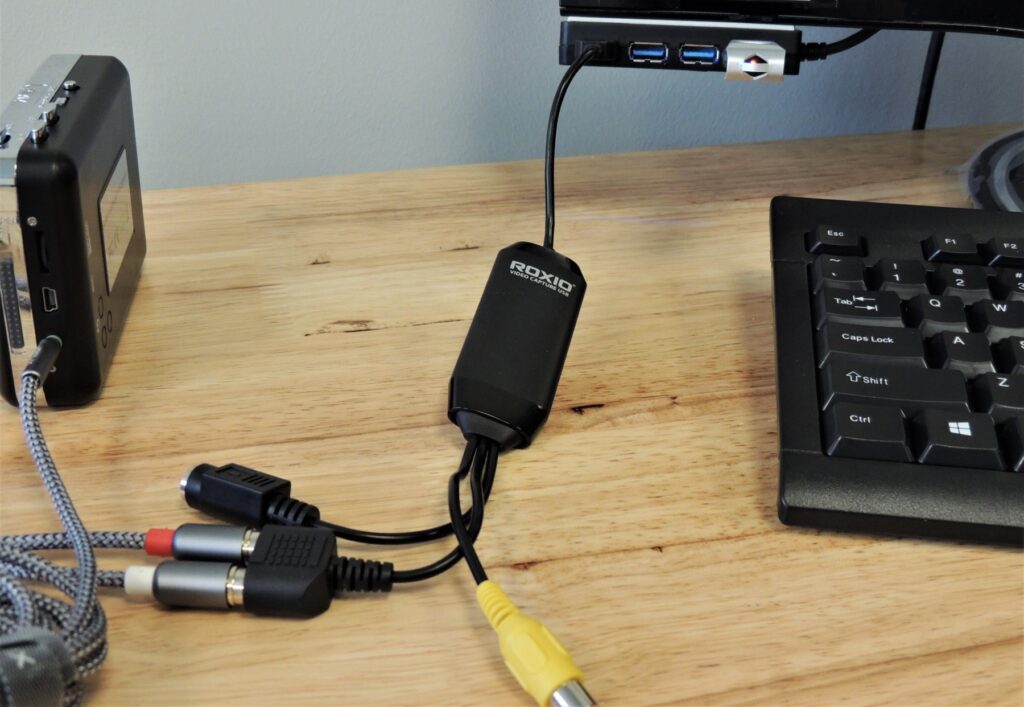
2. Connect the Cassette Capture device to the Roxio Video Capture USB using the JSAUX cable.
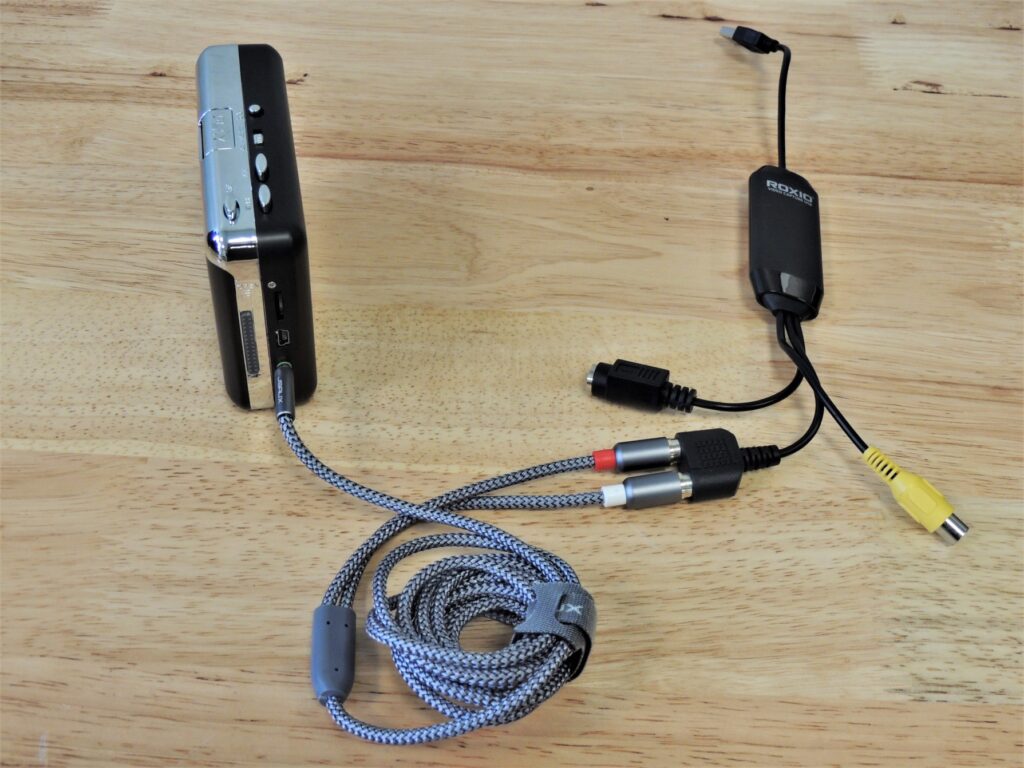
3. Connect the Roxio Video Capture USB to the computer’s USB port.
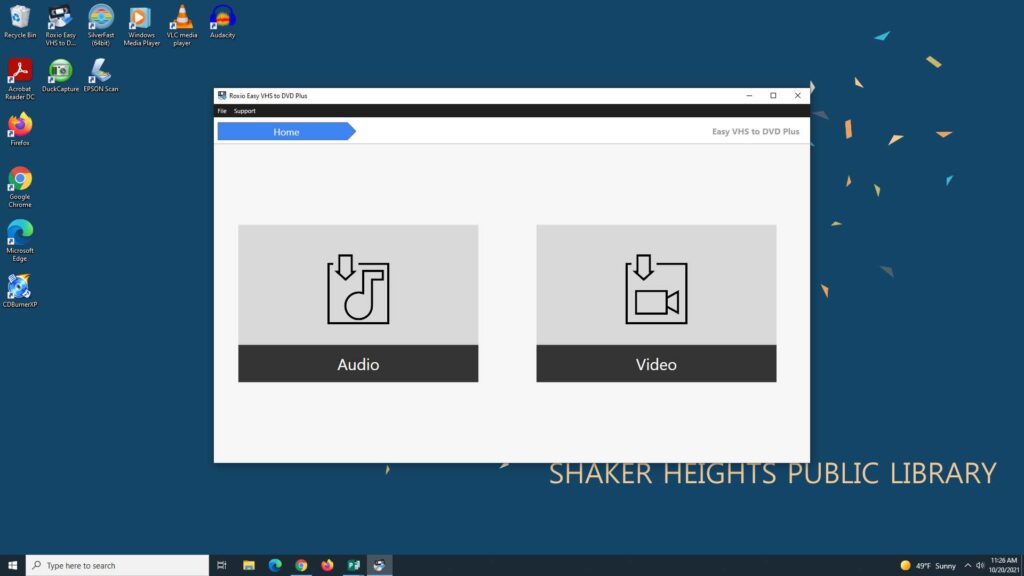
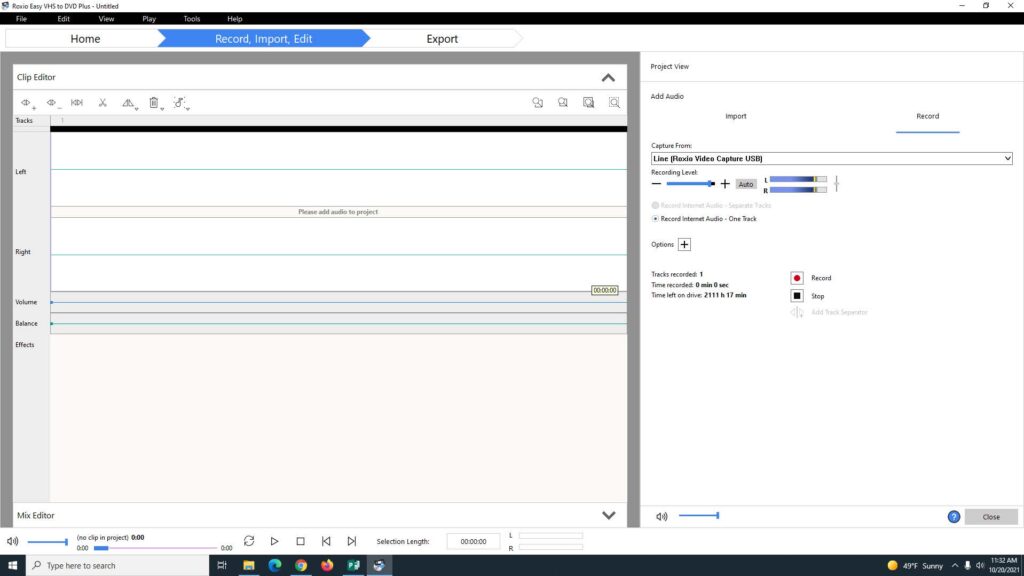
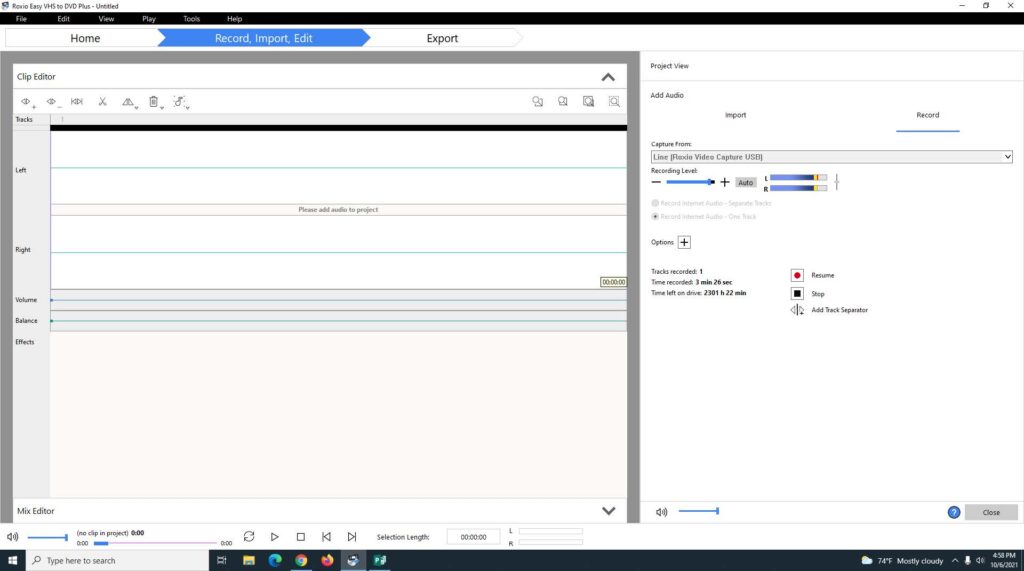
4. Open the Roxio Easy VHS to DVD Plus software and select Audio from the home screen.
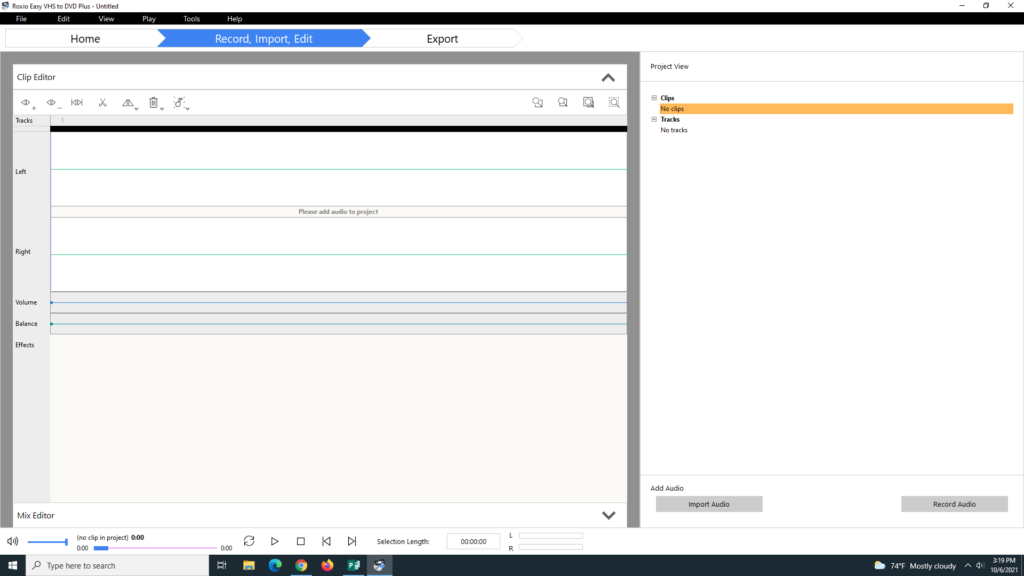
5. Before recording, rewind your cassette using the RW button on the Cassette Capture device if needed. Then, click Record Audio on Roxio.
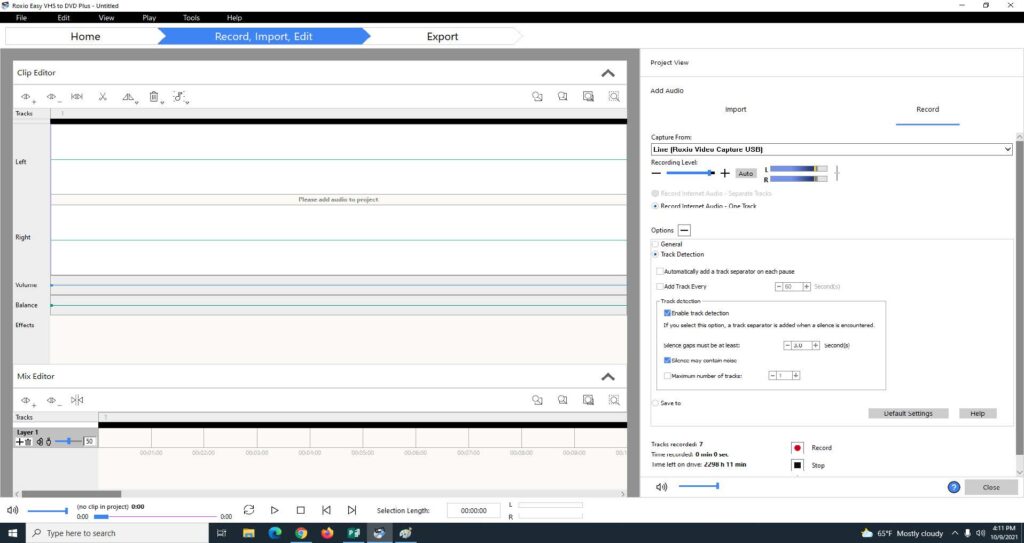
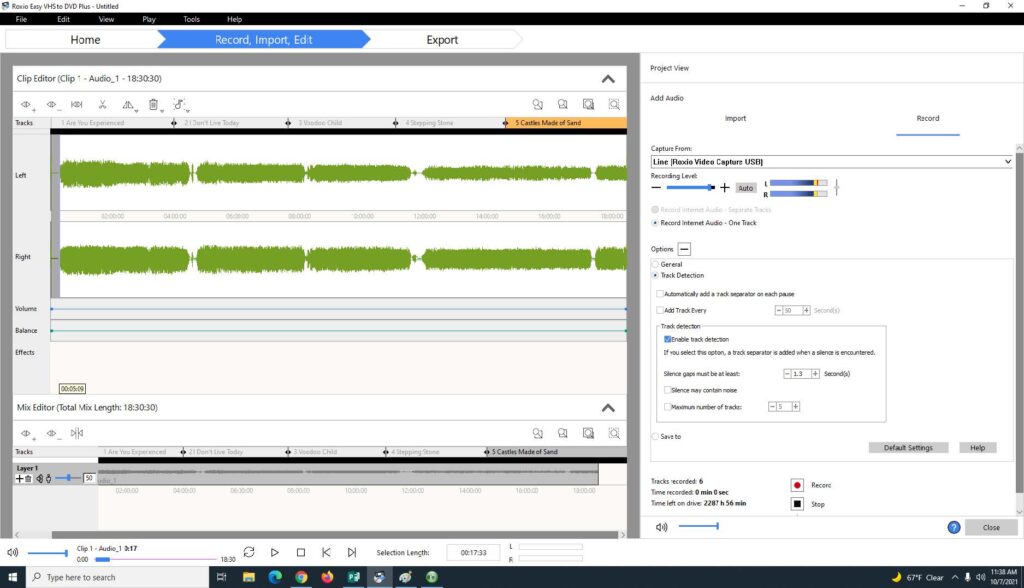
6. Before recording, configure your settings by clicking the Options menu.
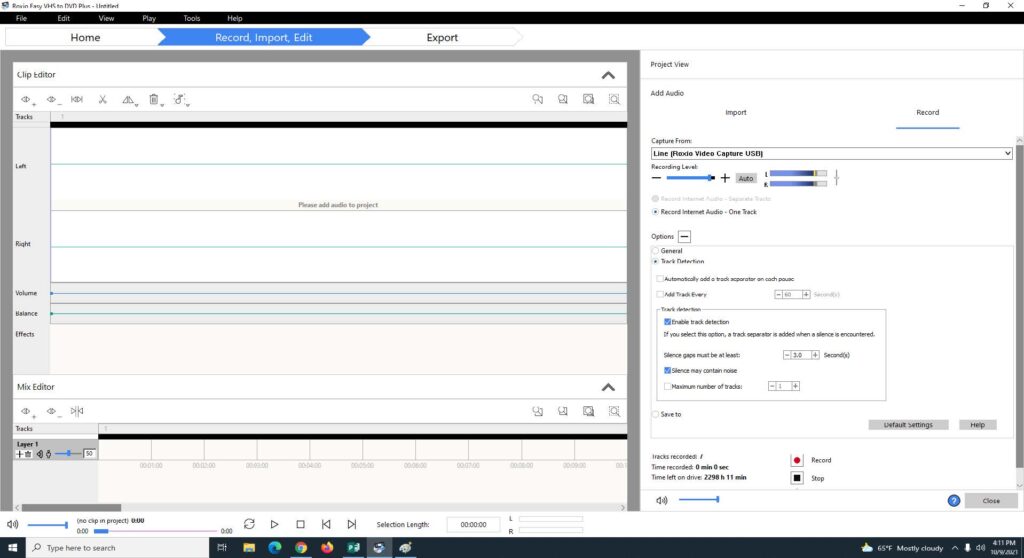
7. Under Options– General, enable Auto Pause to stop recording automatically after an extended period of silence. Select the box and choose your silence length.

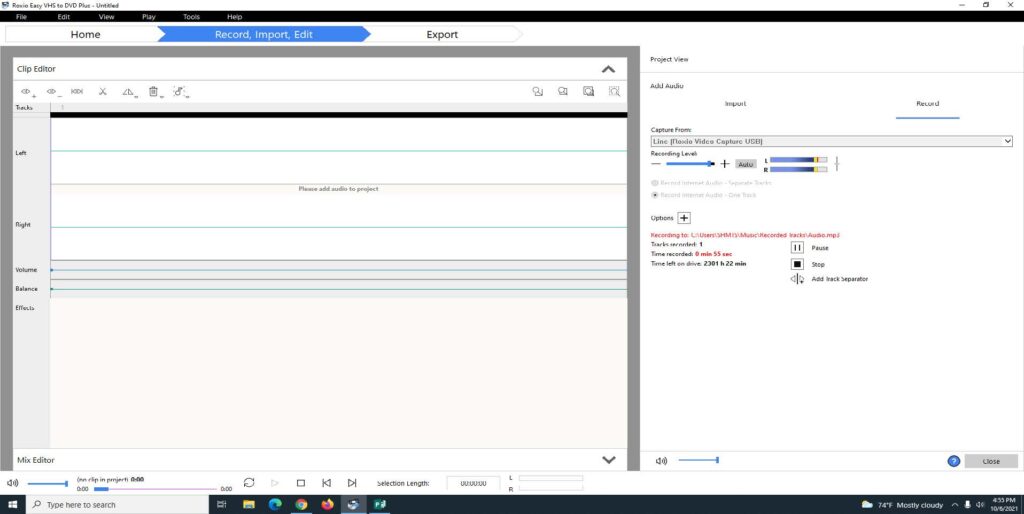
8. While recording, you can manually separate audio into tracks or have Roxio detect tracks automatically. To manually separate tracks, you’ll need to listen to your cassette while recording and select Add Track Separator after each track is finished. This option will appear once you start recording.
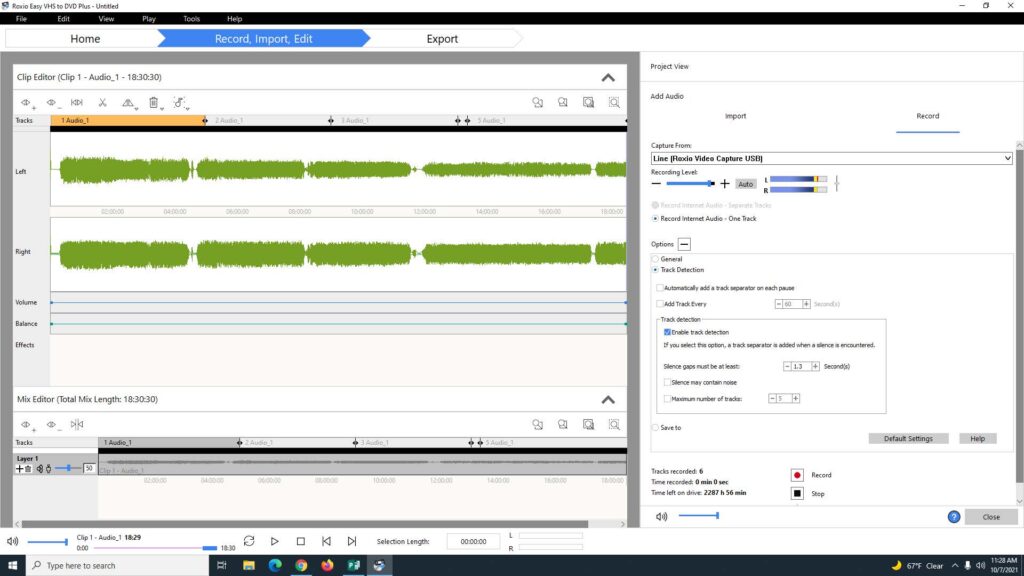
9. To automatically detect and separate tracks (recommended), select Track Detection, Enable Track Detection, and set the silence length gap to your choice. Check the box for Silence May Contain Noise.
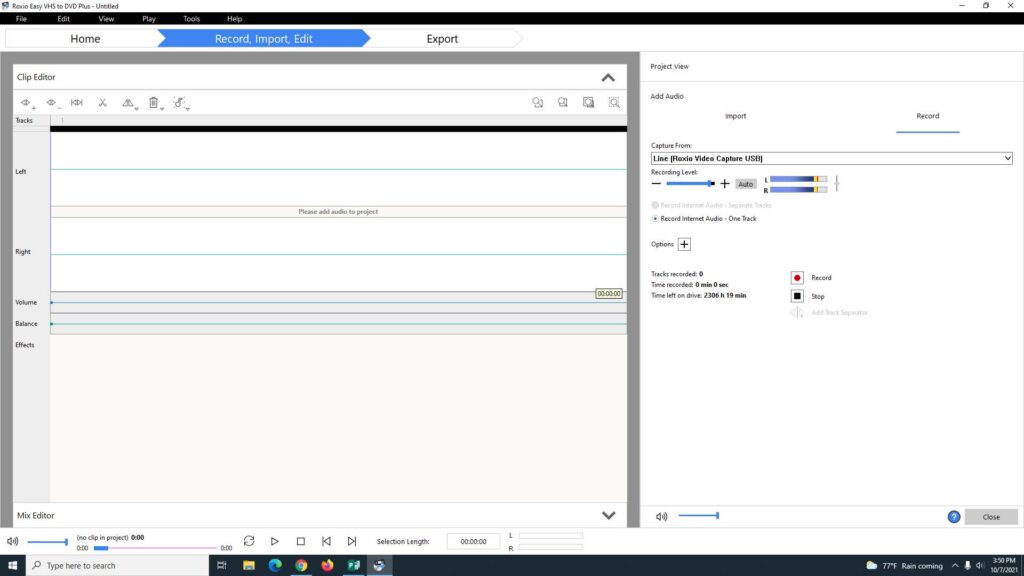
10. Click the Record button to start recording and press PLAY on the Cassette Capture.
Note: you will not see activity in the clip editor until the recording is complete.
11. When the first side is finished, press Pause on Roxio and flip the cassette over.
12. Rewind side two of the cassette before recording if needed. Then, click Resume on Roxio, press PLAY on the Cassette Capture, and play the second side. When finished, press Stop on Roxio.
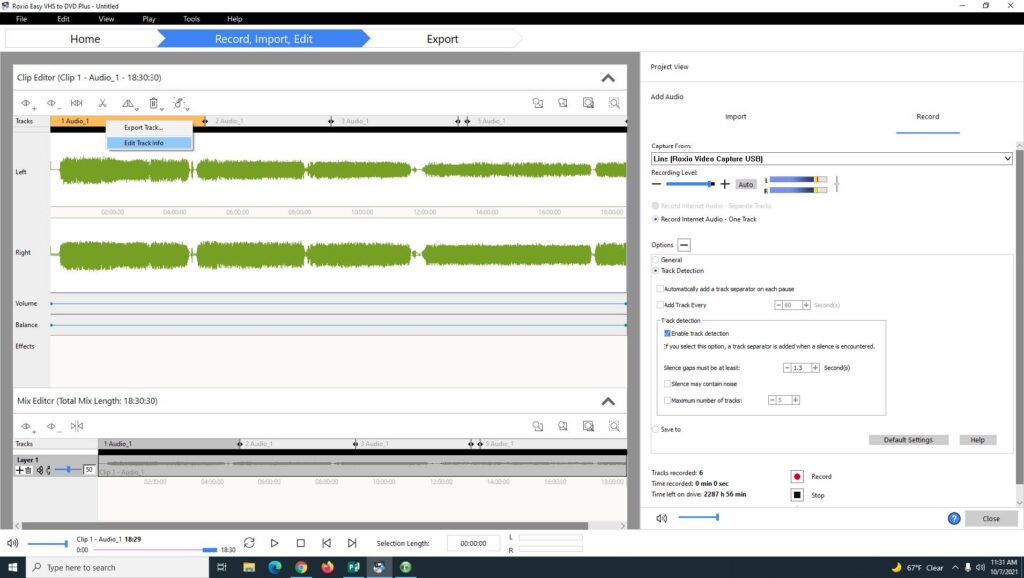
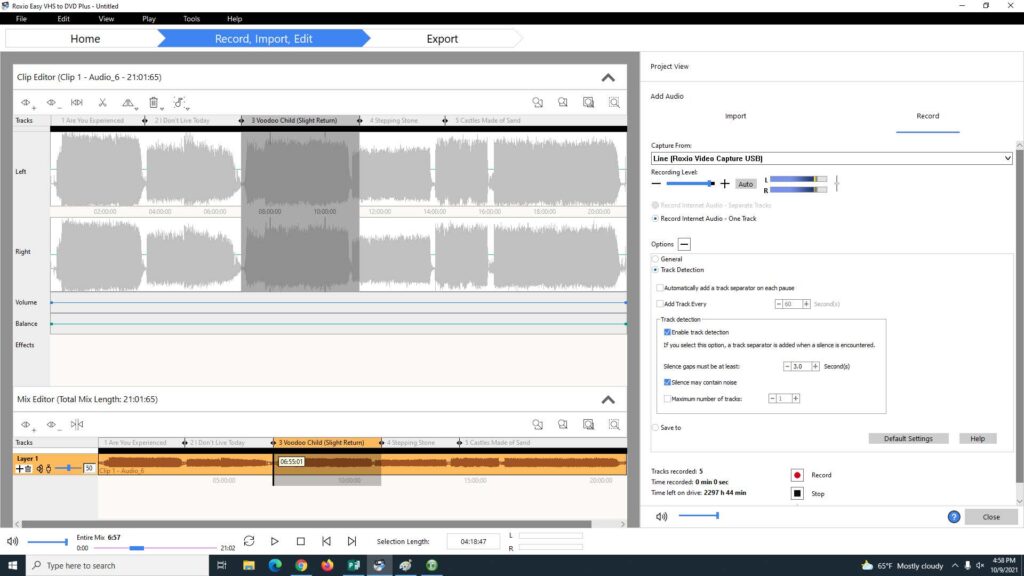
13. After recording, edit your audio using the Clip Editor and Mix Editor.
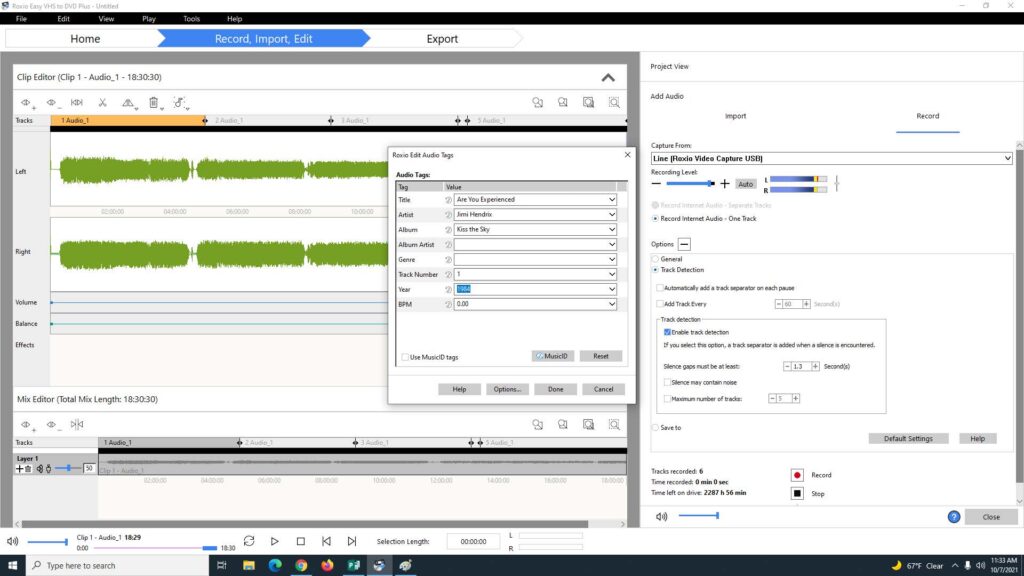
In the Clip Editor, add song titles, artists, and any additional track information by right-clicking on the track and selecting Edit Track Info.
Enter your track information and click Done.
14. Listen to your tracks and remove unwanted audio by pressing the play icon. To delete audio, drag your mouse across the unwanted clip to create a gray highlight and select the scissors icon.
To separate tracks, use the Mix Editor. Click the up arrow to open the Mix Editor.

Separate your tracks by clicking and dragging your mouse between tracks in the gray Track bar to lengthen or shorten. Use the play button as needed to determine each track’s length.
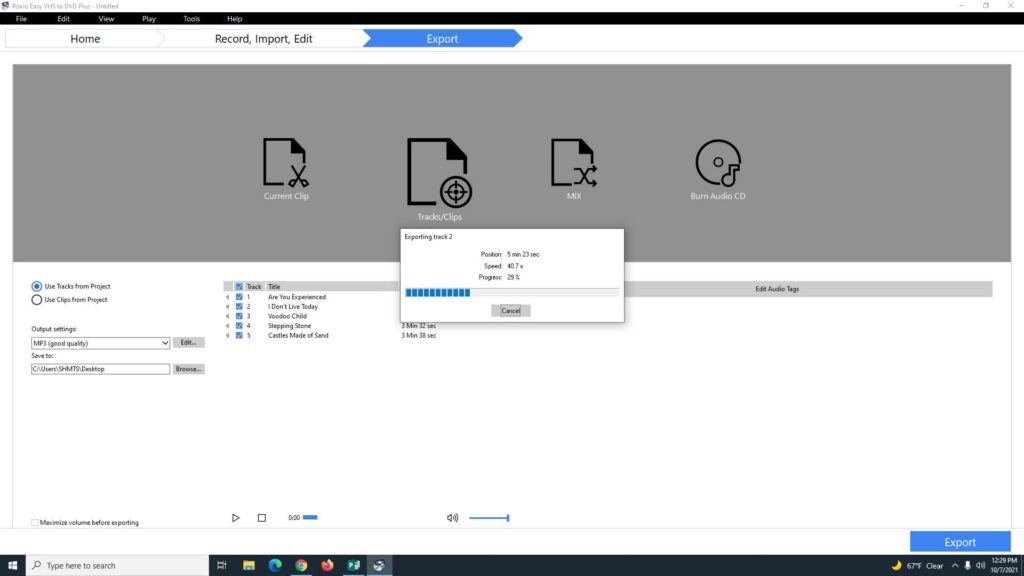
15. When finished, export your audio files to the format of your choice.
Click Export on the top bar, select Tracks/Clips from the gray menu, check the box for Use Tracks from Project, change the Output settings to the file format of your choice- MP3 (Good Quality) is recommended- choose the location to save your files, and click the blue Export button in the bottom right-hand corner.
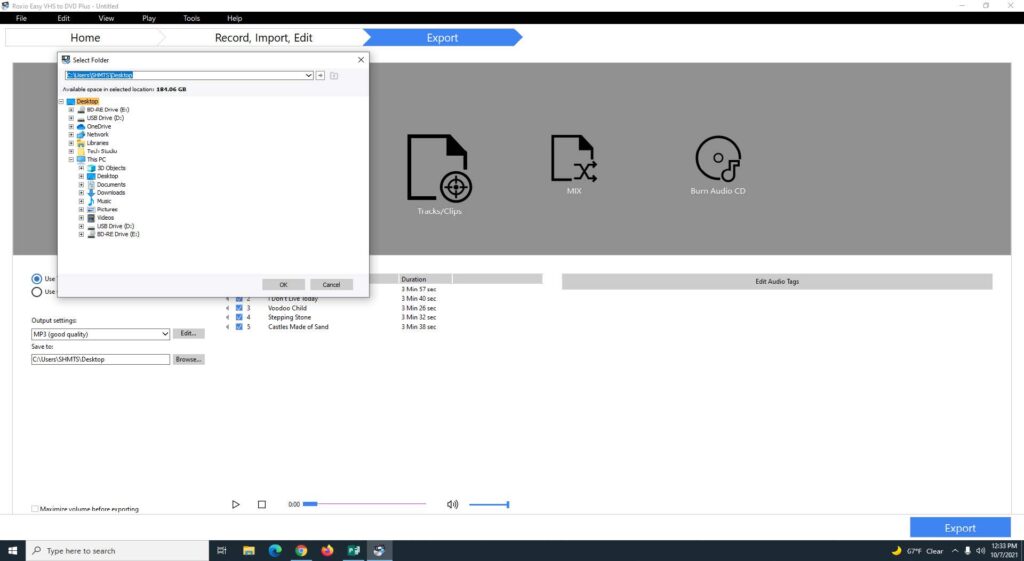
16. To save your audio to a flash drive, insert your flash drive in the computer’s USB port.
Next, in the Save To menu, click Browse and select your USB Drive from the drop-down menu. Then, select OK and Export.

Saving to flash drive tip:
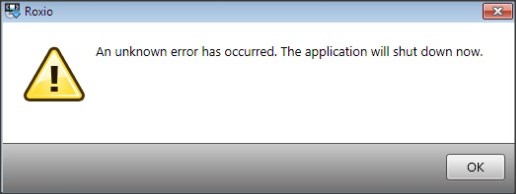
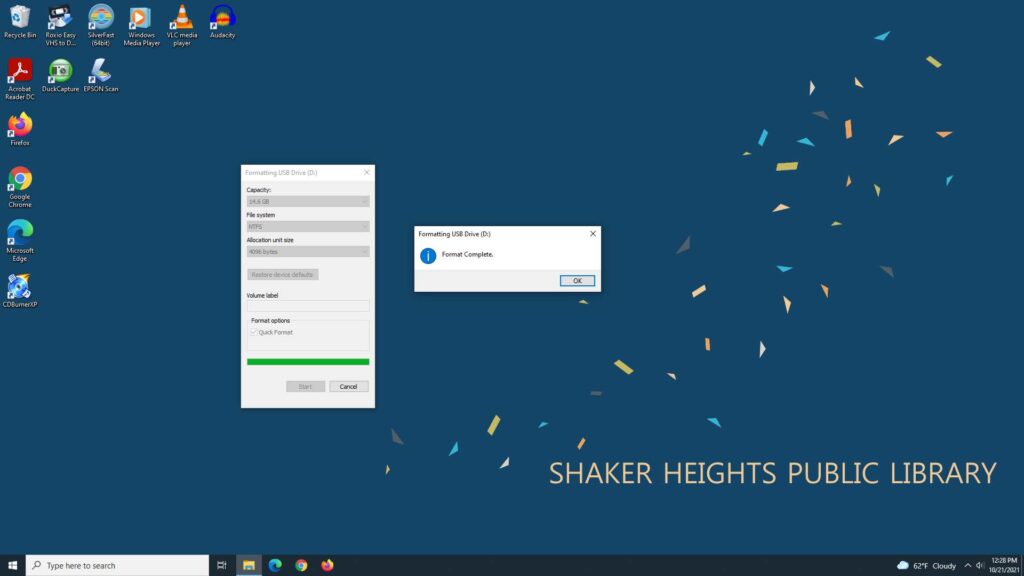
If you see an error message like the one below, you may need to reformat your flash drive.
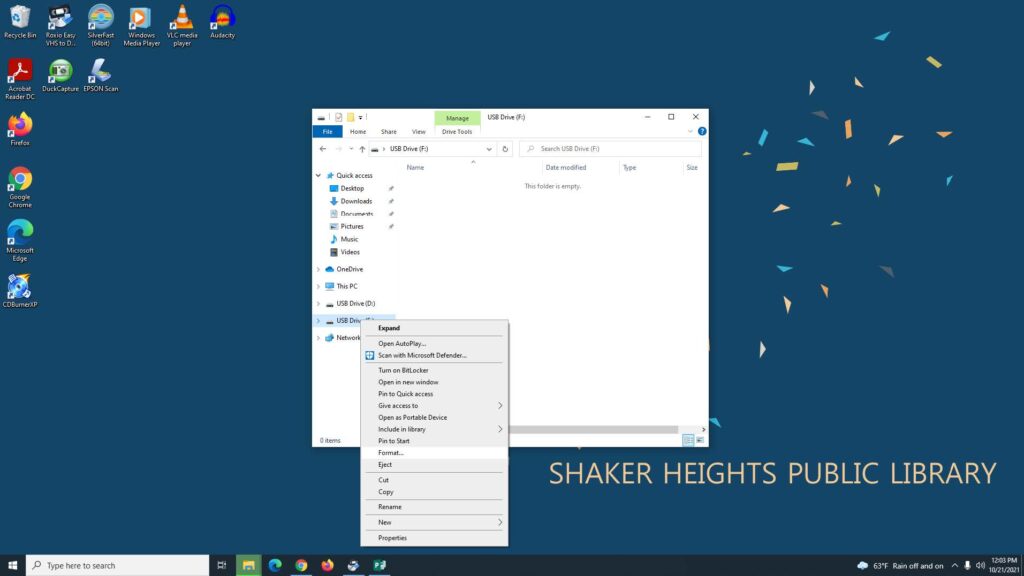
To reformat your flash drive, right-click on the USB and select Format from the dropdown menu.
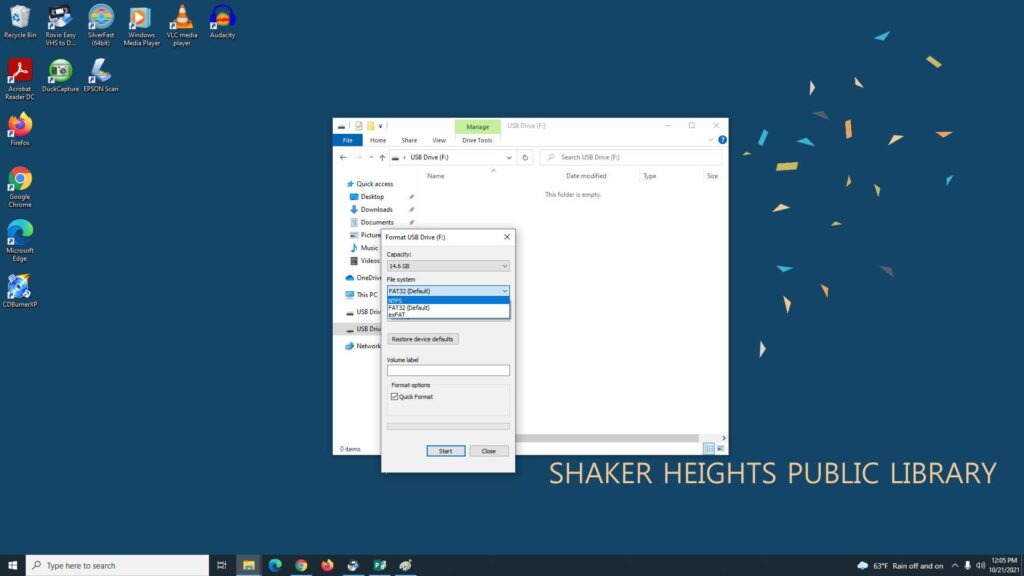
Next, change the File system to NTFS. Then click Start.
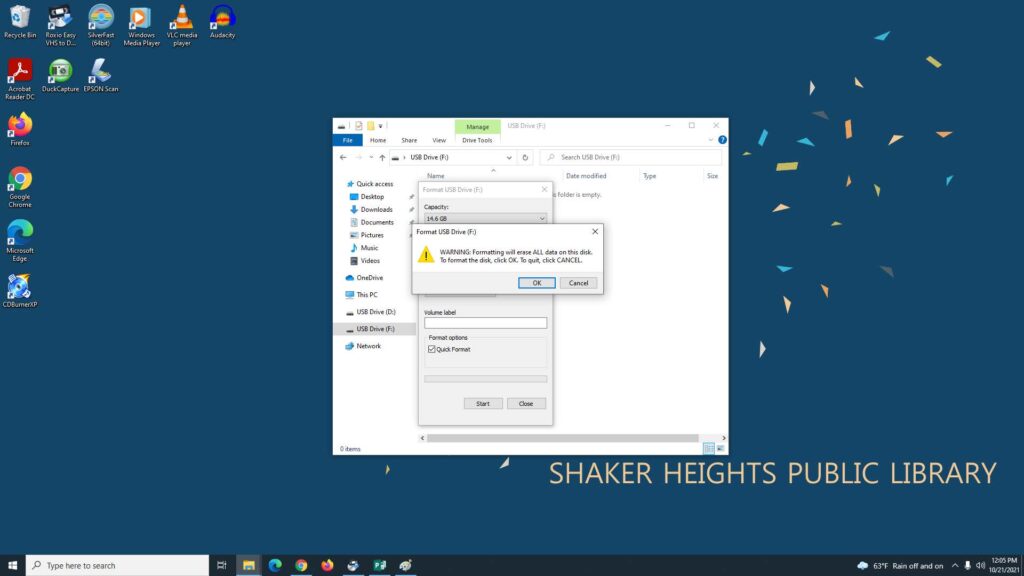
Next, click OK to confirm the formatting.
You will see a message when the formatting is complete. You can then retry saving your file to the flash drive in Roxio.
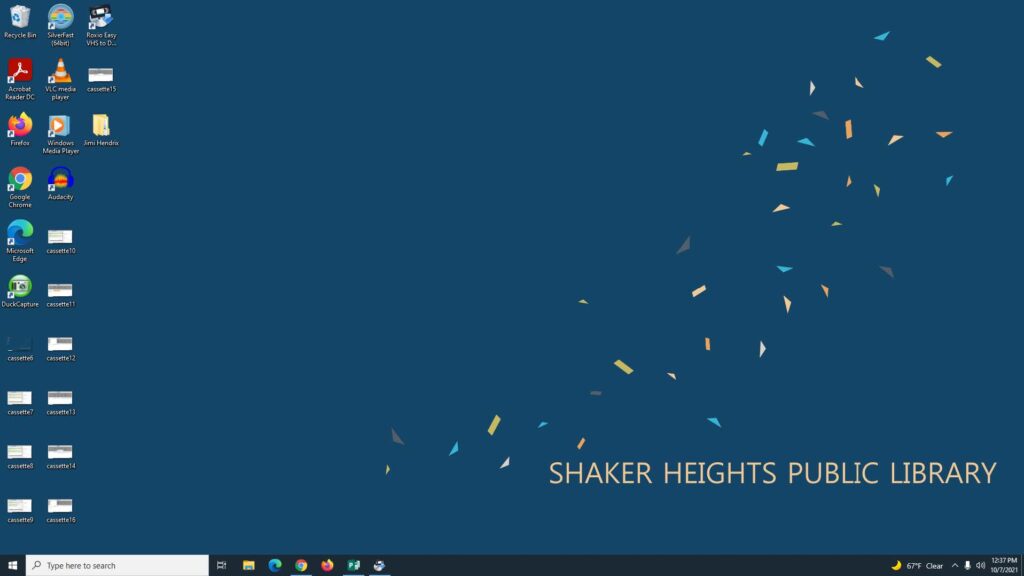
17. To export your audio to a cloud-based platform, save your files to the desktop and upload them to the cloud storage of your choice. Click on the Save To dropdown menu and choose the desktop. Then, click OK and Export.
Next, you will see a dialog box confirming the files are saving.
Your audio files are saved on the desktop and can be uploaded to the cloud storage platform of your choice.
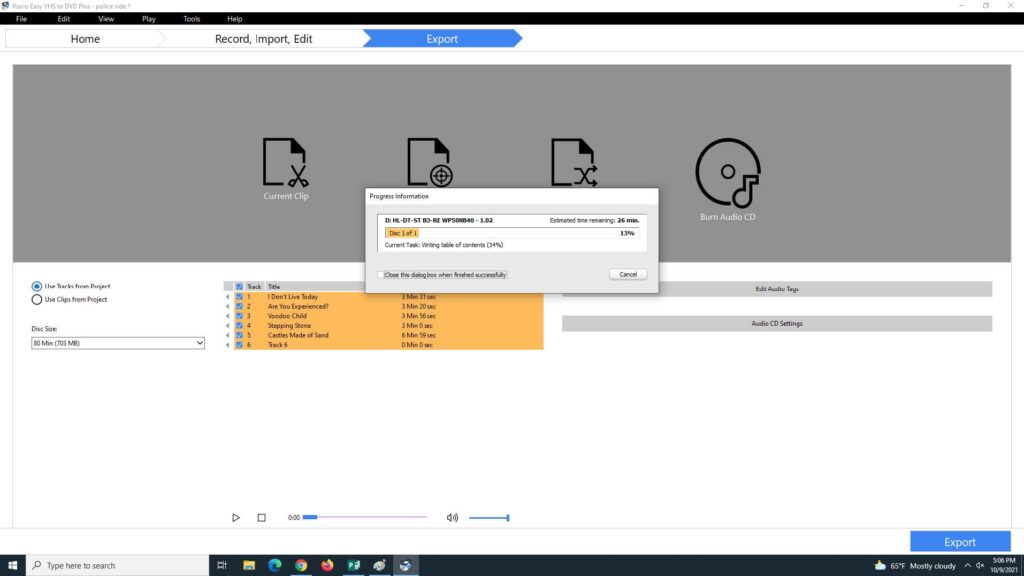
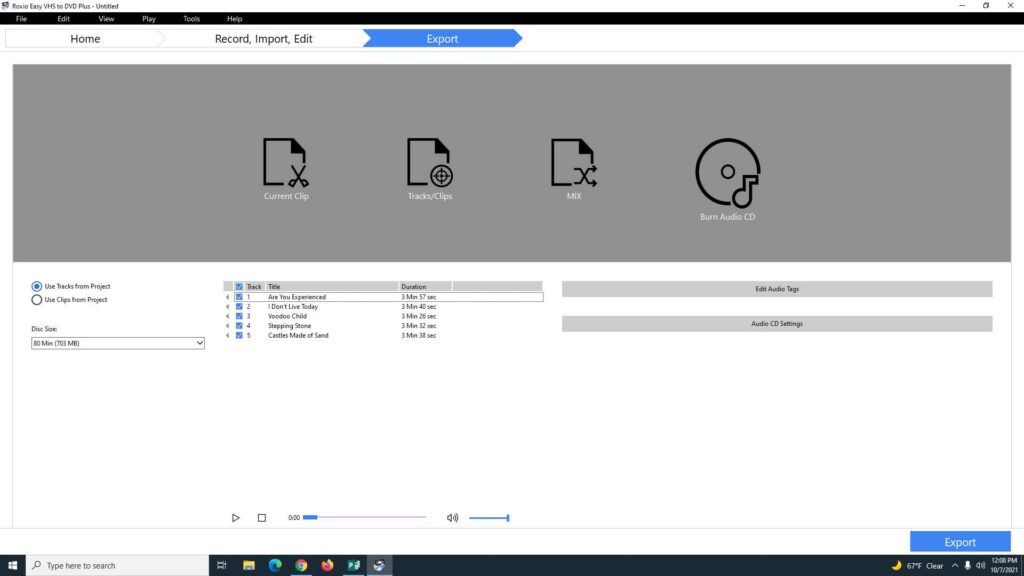
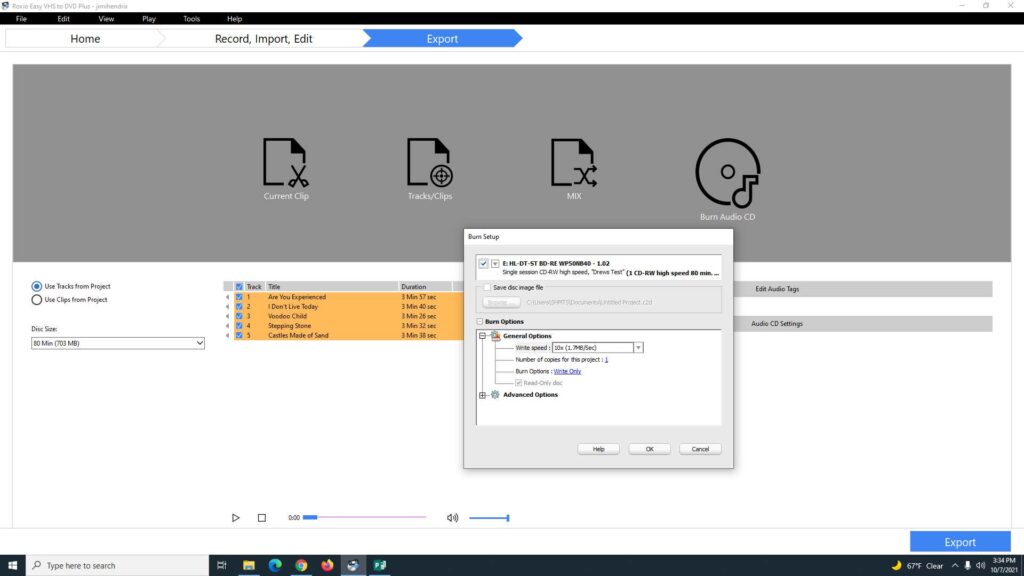
18. To burn your audio to a CD, select Burn Audio CD from the gray menu. Next, select Use Tracks from Project and choose your Disc Size. Then, click Export.
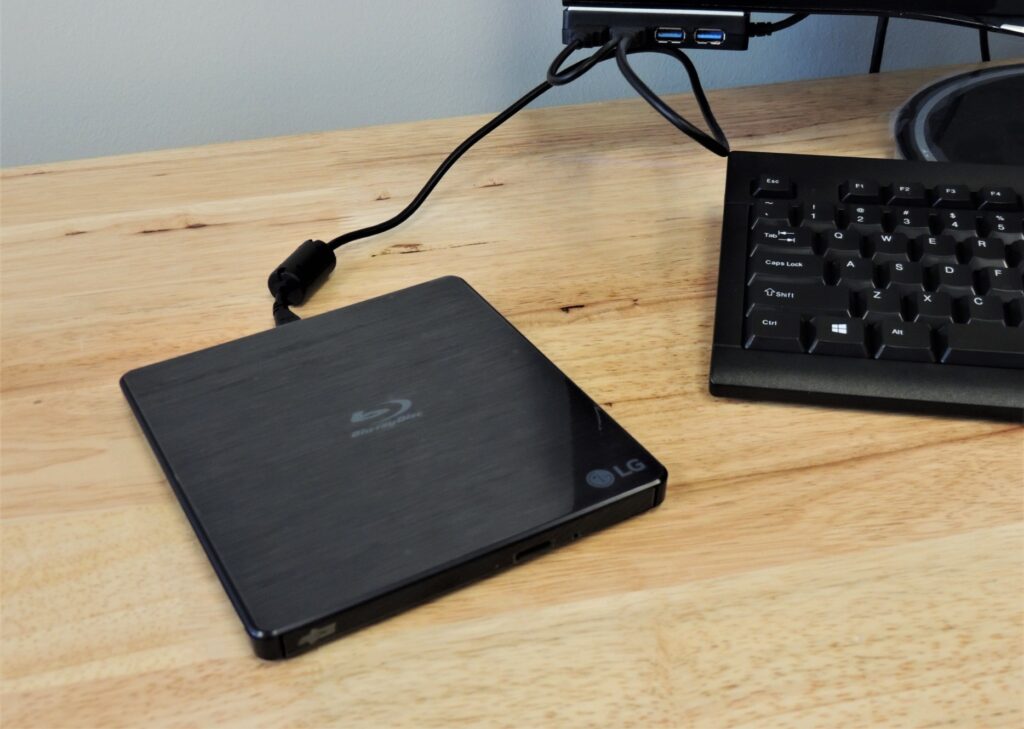
Connect both USB cords from the Blu-ray Writer to the USB ports and insert a blank CD.
Confirm the settings in the Burn Setup dialog box and then press OK.
A Progress Information dialog box will appear. Roxio will notify you when the burn completes.