To convert film or slides to digital, you will use the Wolverine Film to Digital (F2D) Titan.
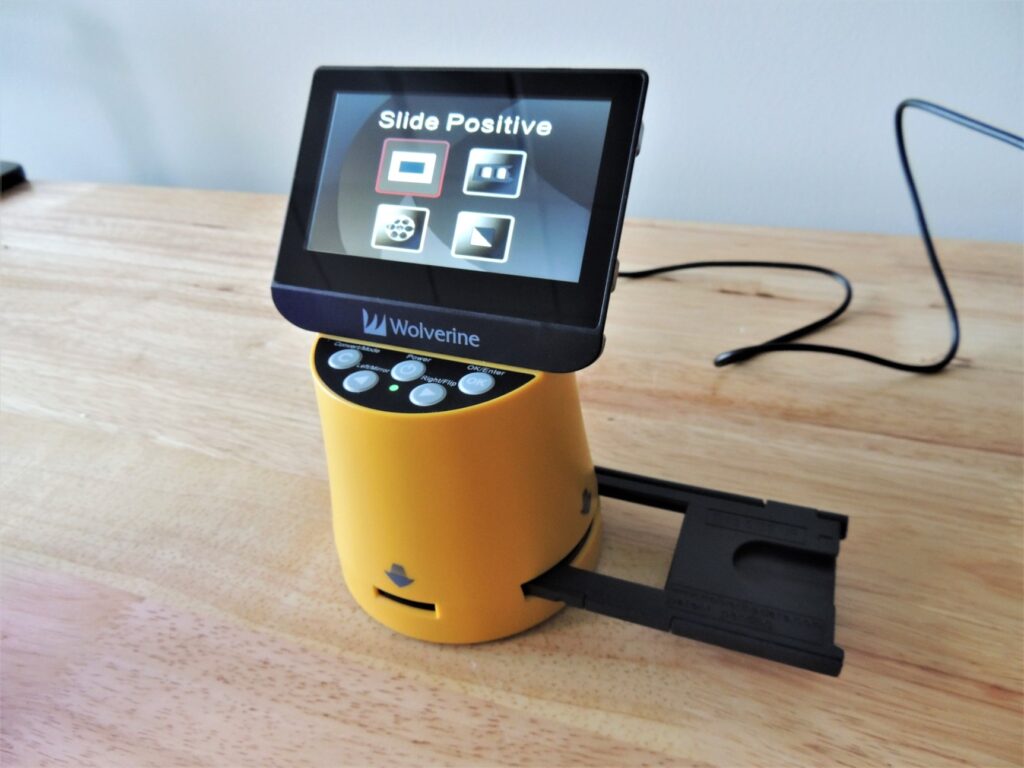
1. Connect the F2D Titan to the computer’s USB port and click the power button on the F2D Titan. Select your Film Type, using the left and right arrows to navigate and the OK/Enter button to confirm your selection.


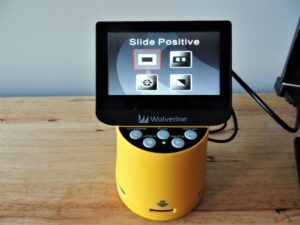
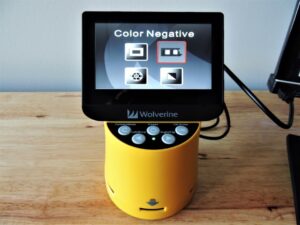
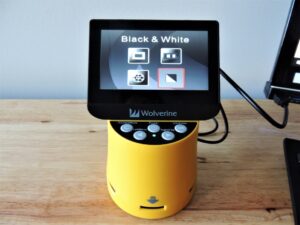
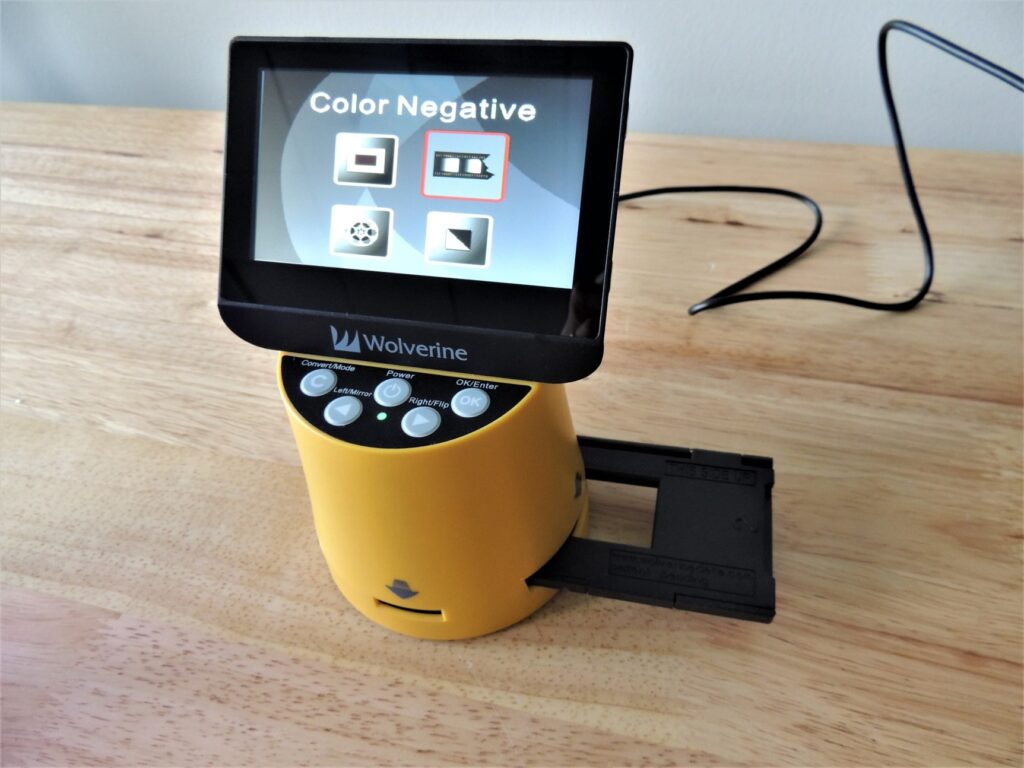
2. Choose from the following film options: slide positive, color negative, movie positive, and black and white.
Slide Positive Slide Negative
Movie Positive Black & White

3. Grab a Film Adapter and/or Place Insert. See the guide below for help choosing your Film Type/Film Adapter/Insert.
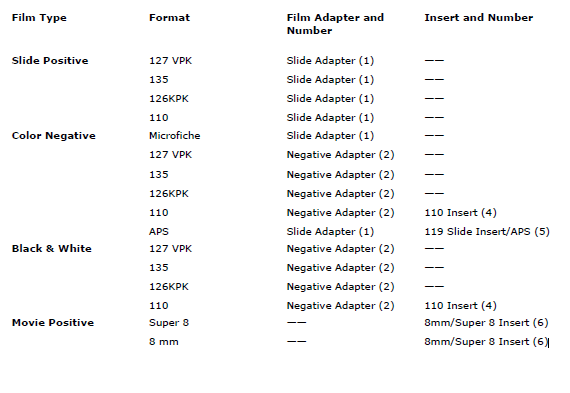
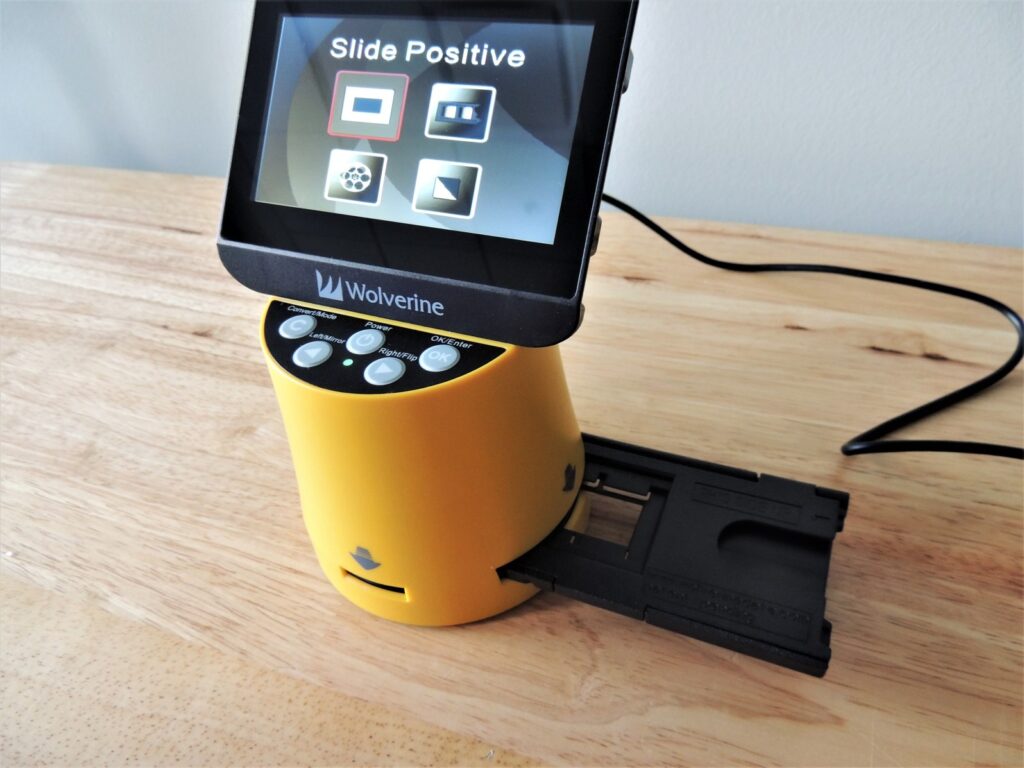
To view and convert a slide positive, use the Slide Adapter (1) by inserting it into the viewer, moving right to left.
To view and convert a color negative, use the Negative Adapter (2) by inserting it into the viewer, moving right to left.
To view and convert APS, place the Slide Insert (5) in the Slide Adapter (1).

4. Insert the Slide Adapter (1) into the viewer, moving right to left.
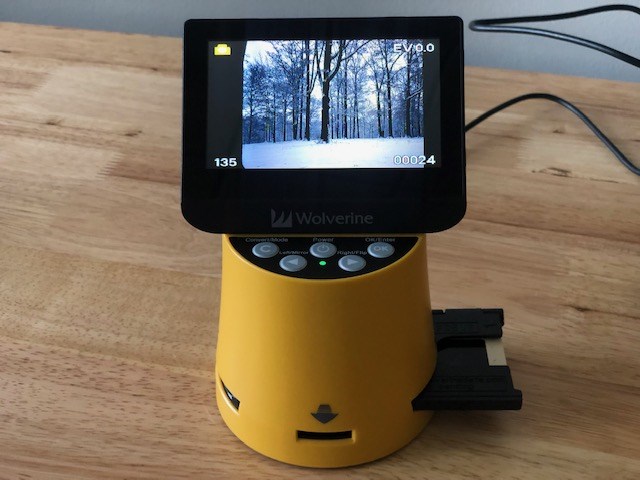
5. Clean your film if needed, using the cleaning brush. Then, feed your slides one by one, shiny side up, moving right to left. Your images will appear on the screen. Use the second and third slides to push the preceding ones until the image aligns with the viewer before converting.
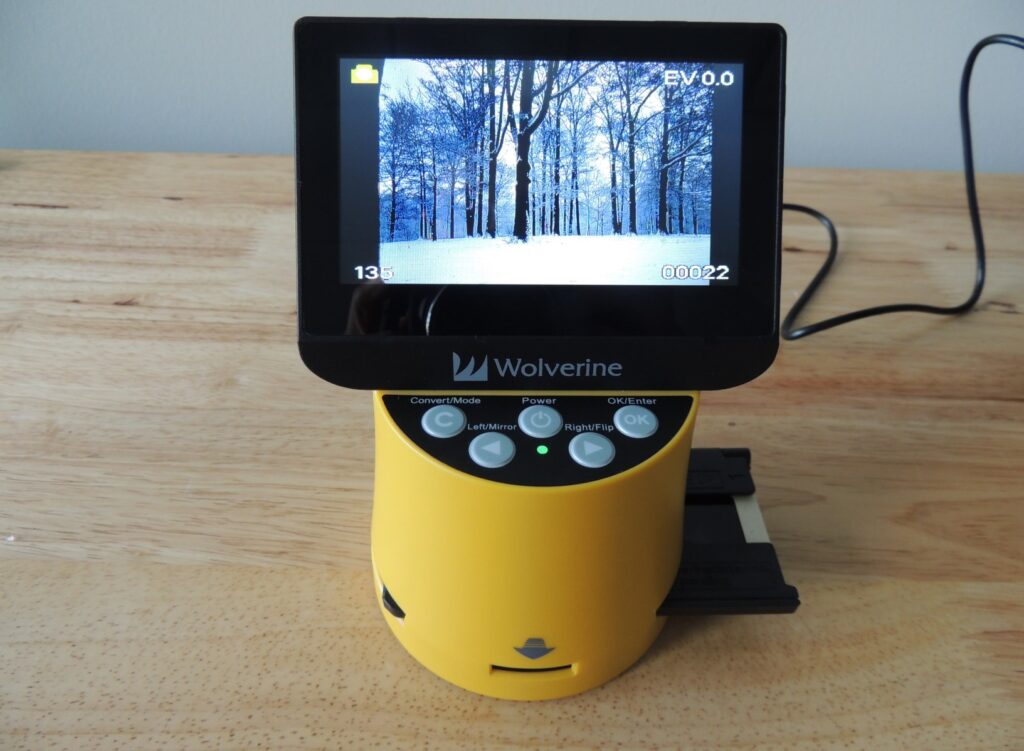
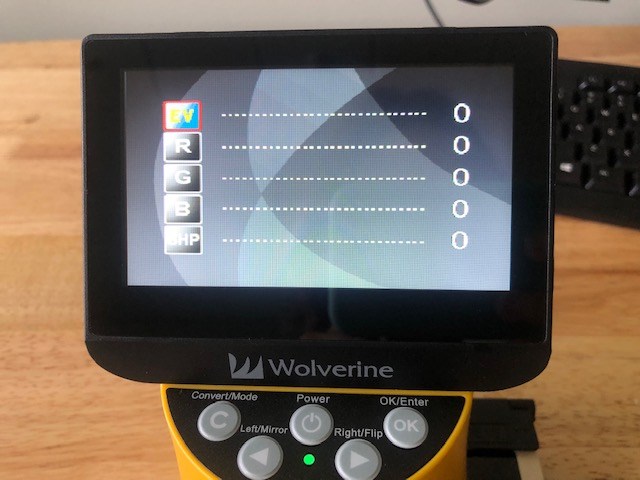
6. To edit your images, press OK/Enter and edit the exposure (EV), red (R), green (G), blue (B), and sharpness (SHP) using the right/left buttons to increase or decrease the effect.
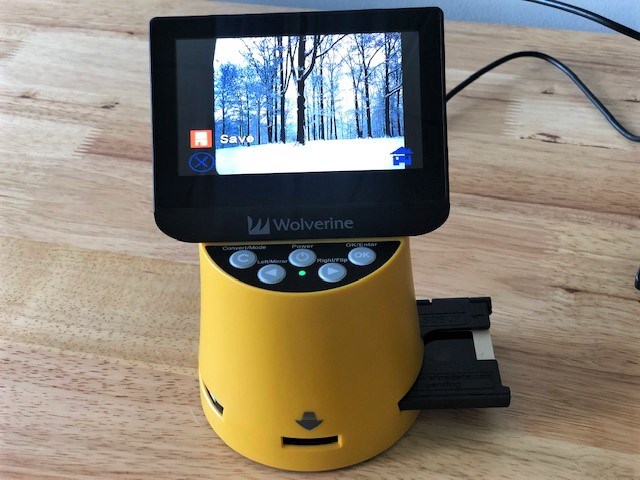
7. When you are satisfied with your image, you can convert it by pressing the Convert/Mode button, then press OK/Enter and select Save. Do this for each image.
8. When finished, remove the adapter by pulling it out to the right. You will see the number of images saved to the viewer in the bottom right-hand corner of the screen.
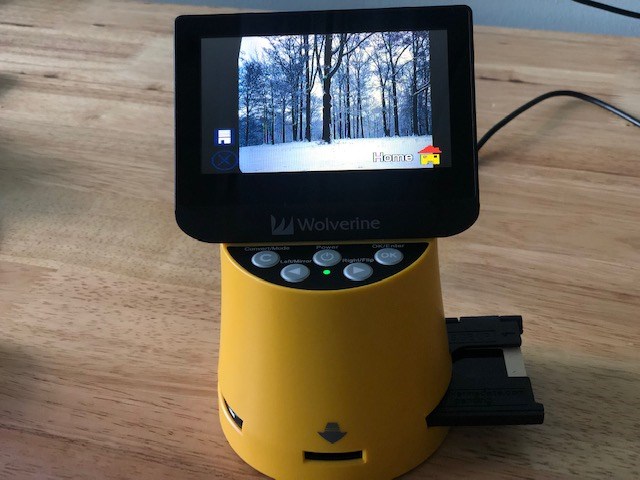
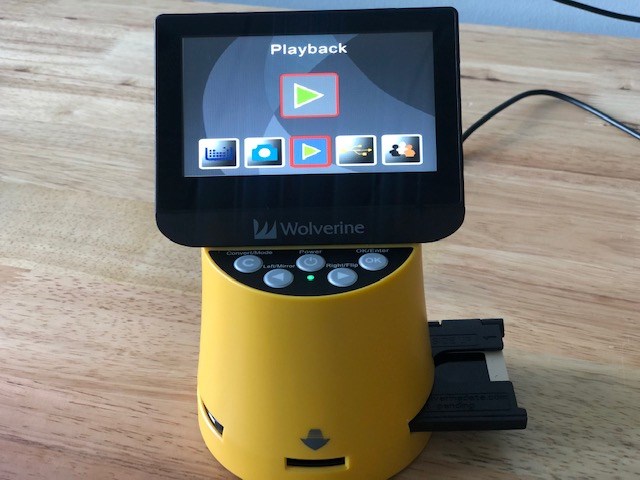
9. To view all of your images before uploading them to the computer, click Convert/Mode, then toggle using the arrows to the Home screen.
10. From the Home screen, toggle using the arrows to the Playback screen and click OK/Enter. The F2D Titan will display your saved images as a slide show. To pause, press OK/Enter.
11. To export your images, make sure the F2D Titan is connected to the computer’s USB port.

12. Using the arrow keys, toggle to the USB Upload screen and press OK/Enter to select.
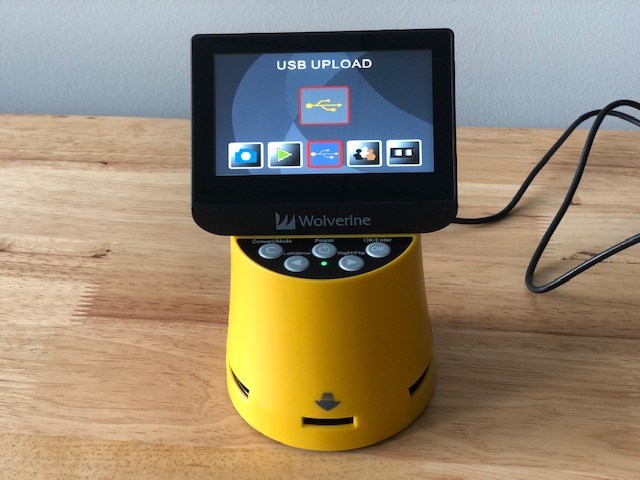
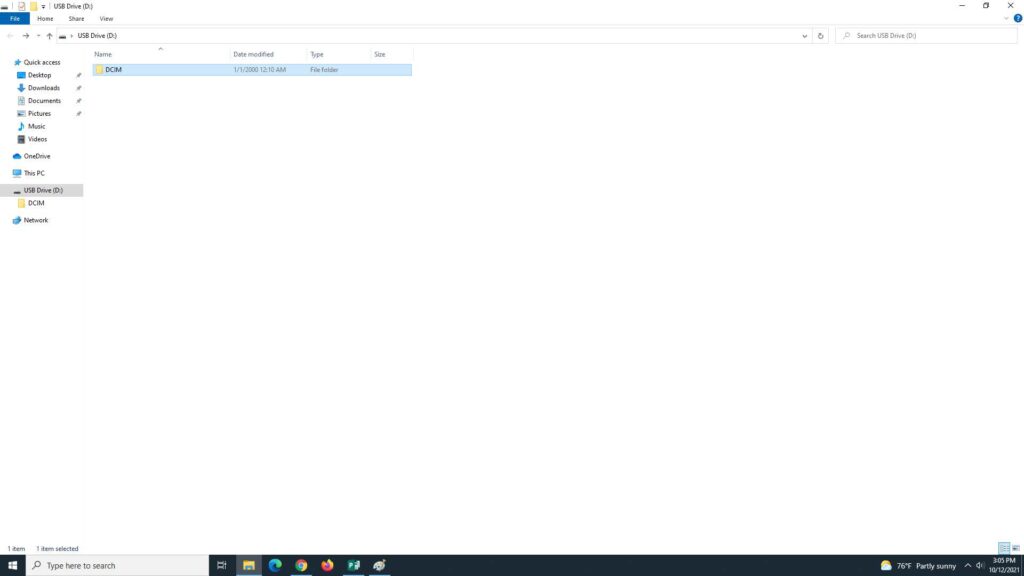
13. Open the finder and select the F2D Titan. You now have access to your saved images.
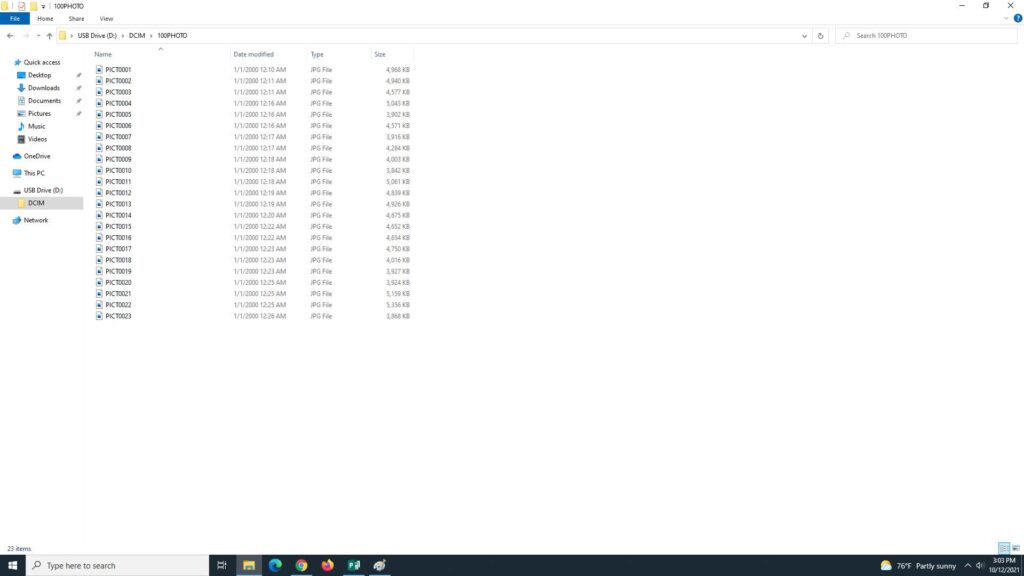
14. This is what a folder containing your digitized slides, saved as JPG files, will look like:
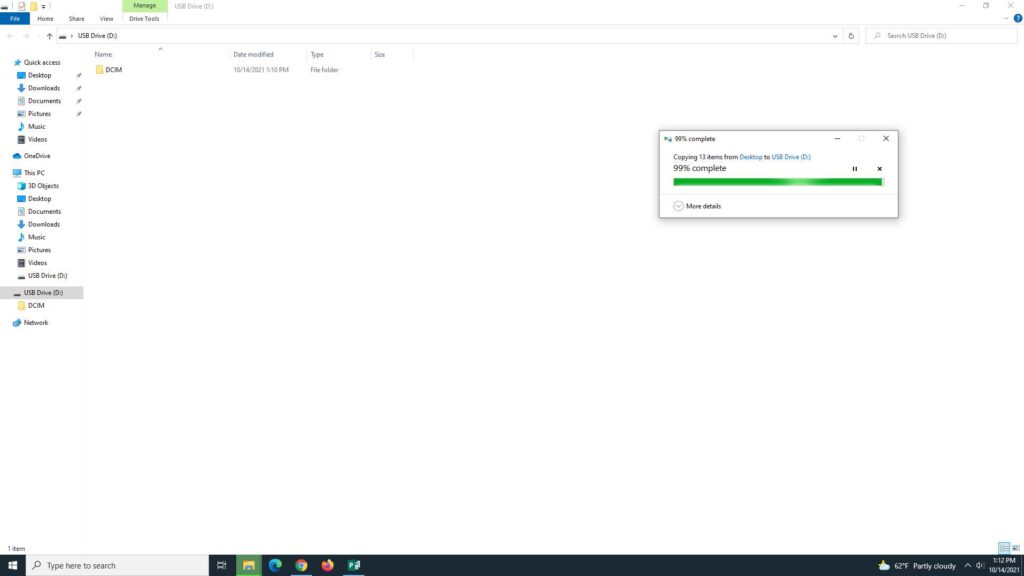
15. To upload your photos to a flash drive, insert your flash drive into the computer’s USB port.

Next, drag your image folder to the USB Drive to upload. A dialog box will appear giving an upload status. Once finished, you can eject your flash drive.
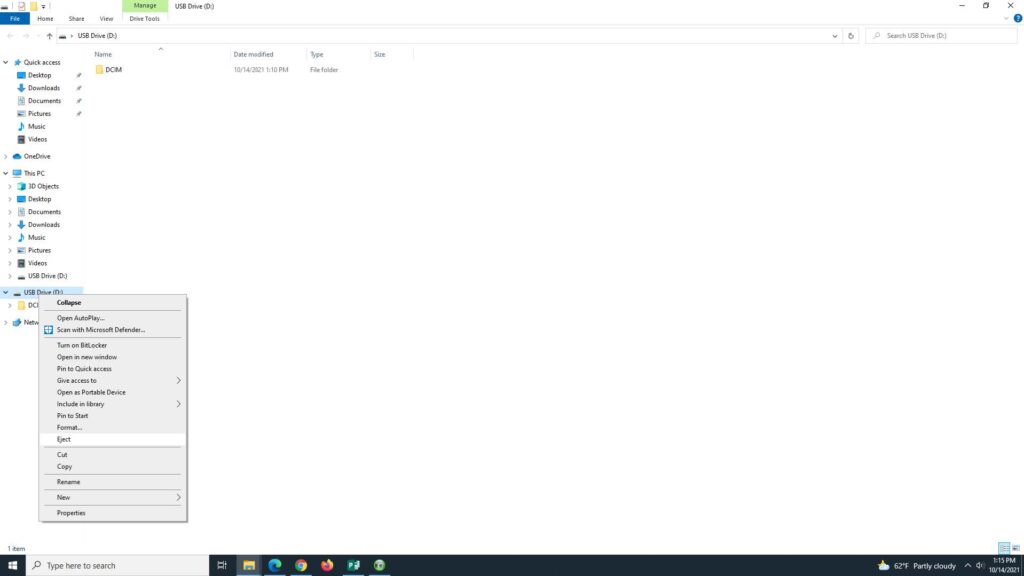
To eject your flash drive, right-click on the USB Drive then select Eject.
16. To upload your photos to a cloud-based storage platform, open the platform of your choice (Dropbox, iCloud, Google Drive, etc.) and then upload your files directly to the platform.