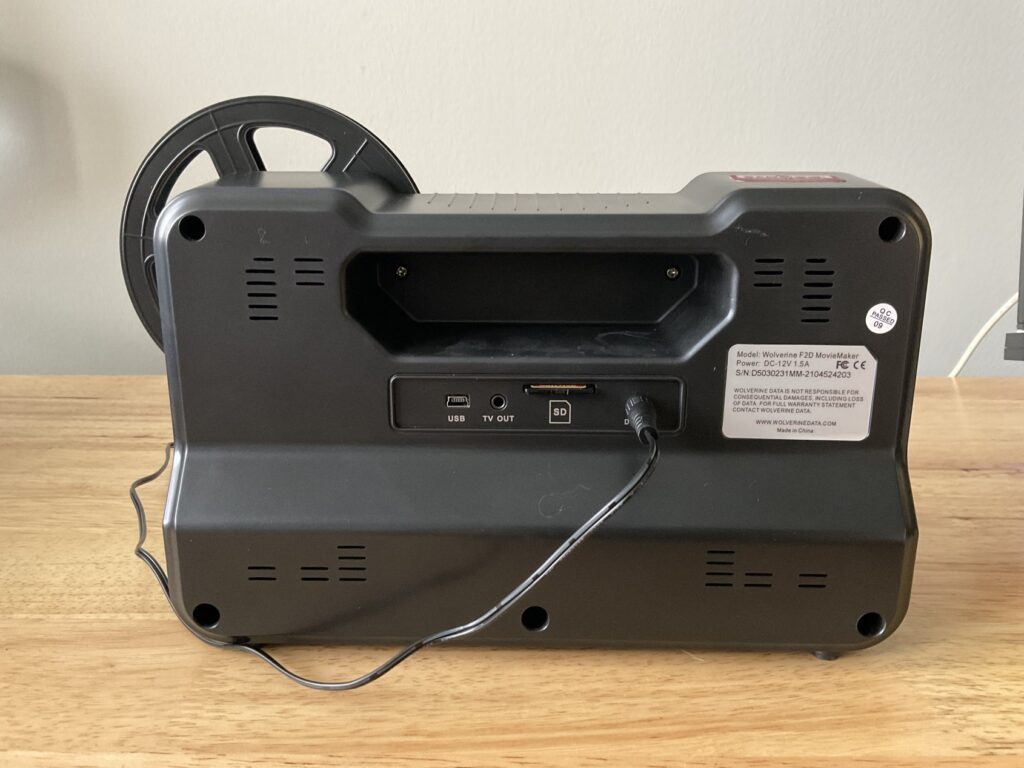
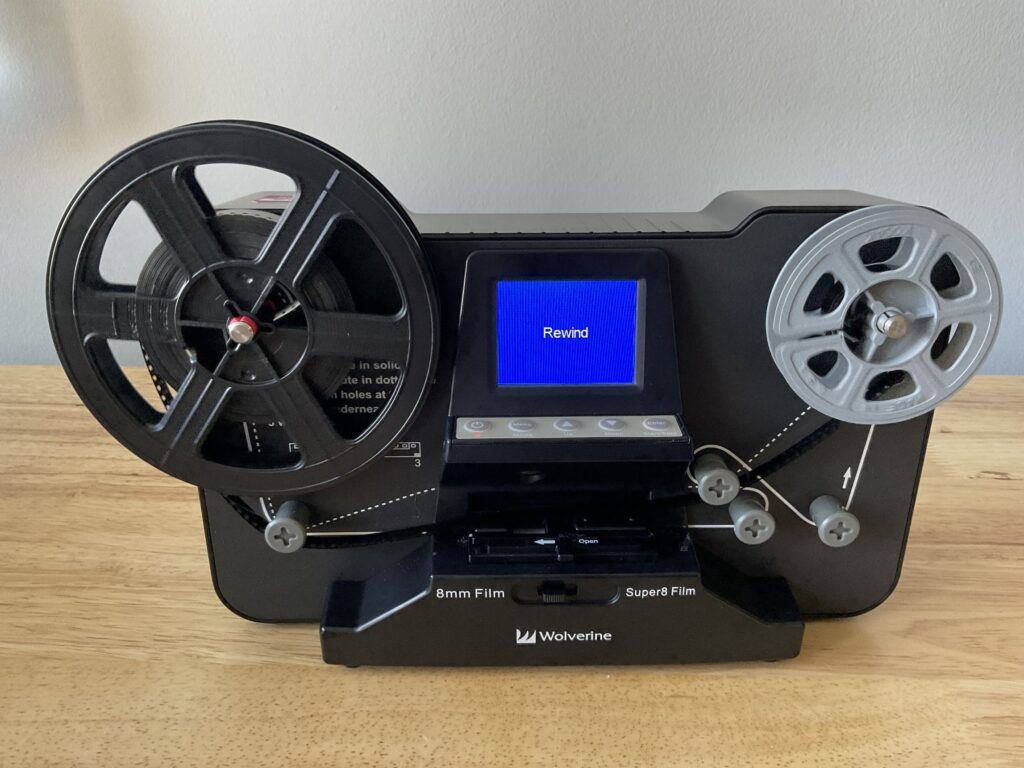
1. Start by confirming the SD Memory Card is inserted in the back of the Film2digital MovieMaker.
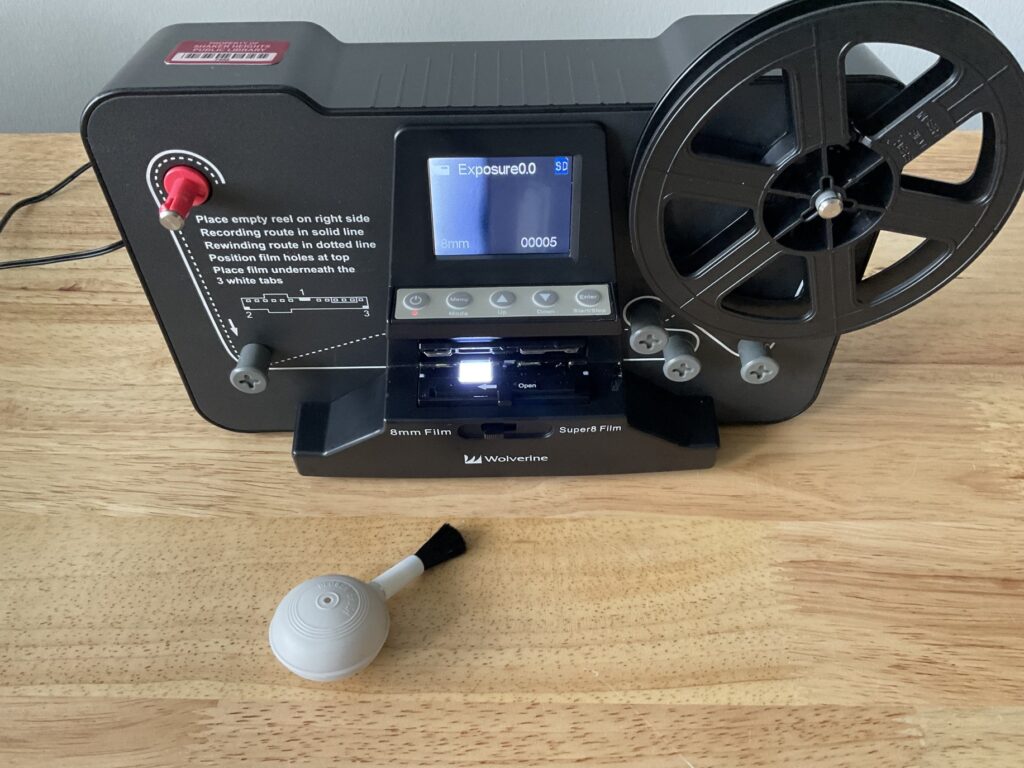
2. Next, plug the MovieMaker in and press the power button. Next, slide the film door tab left to flip open and use the brush to clean the light table.
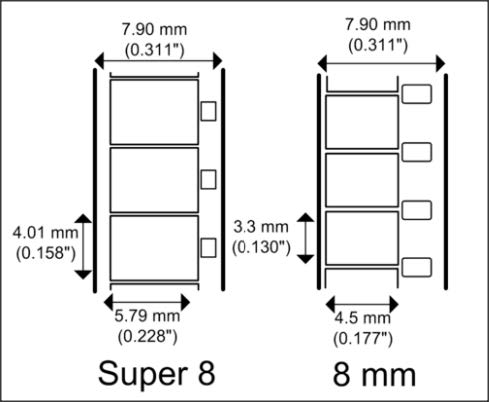
3. Determine whether your film is Super 8 or 8mm (see the guide below).
4. If your film has an 8 mm (small) mounting hole, mount the reel directly to the left shaft. Otherwise use the red color reel adapter. Next, follow the film routing diagram (solid line) printed on the face of the MovieMaker to route the film.
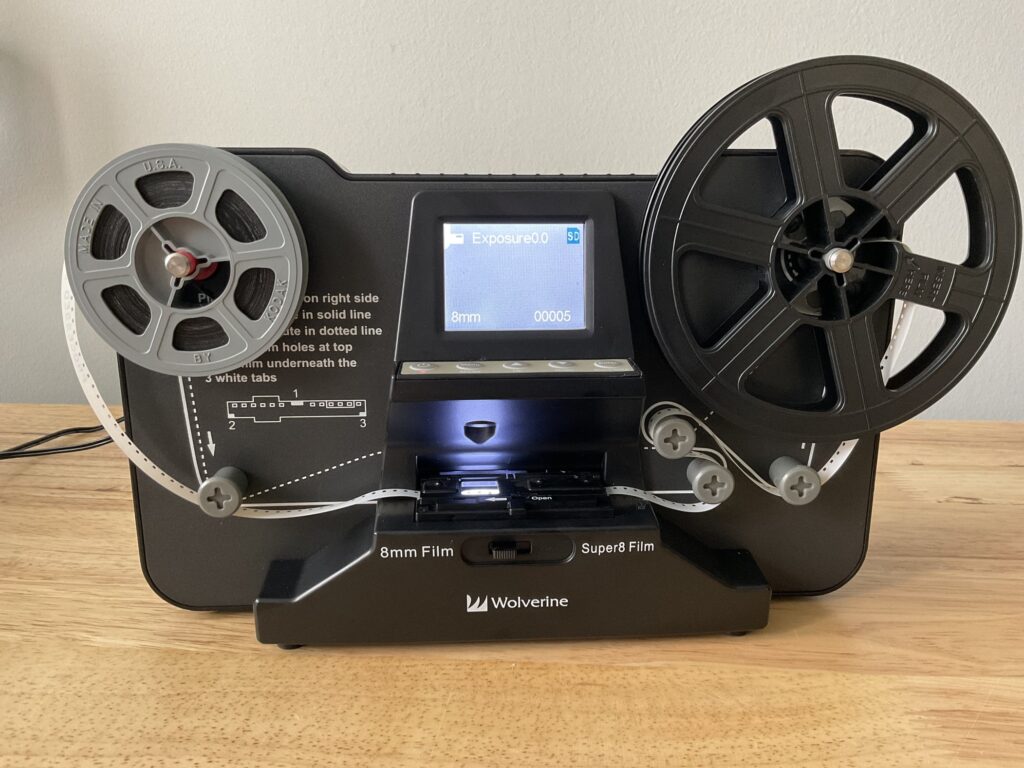
5. To position the film in the film door, start by making sure film sprocket holes are facing the MovieMaker.
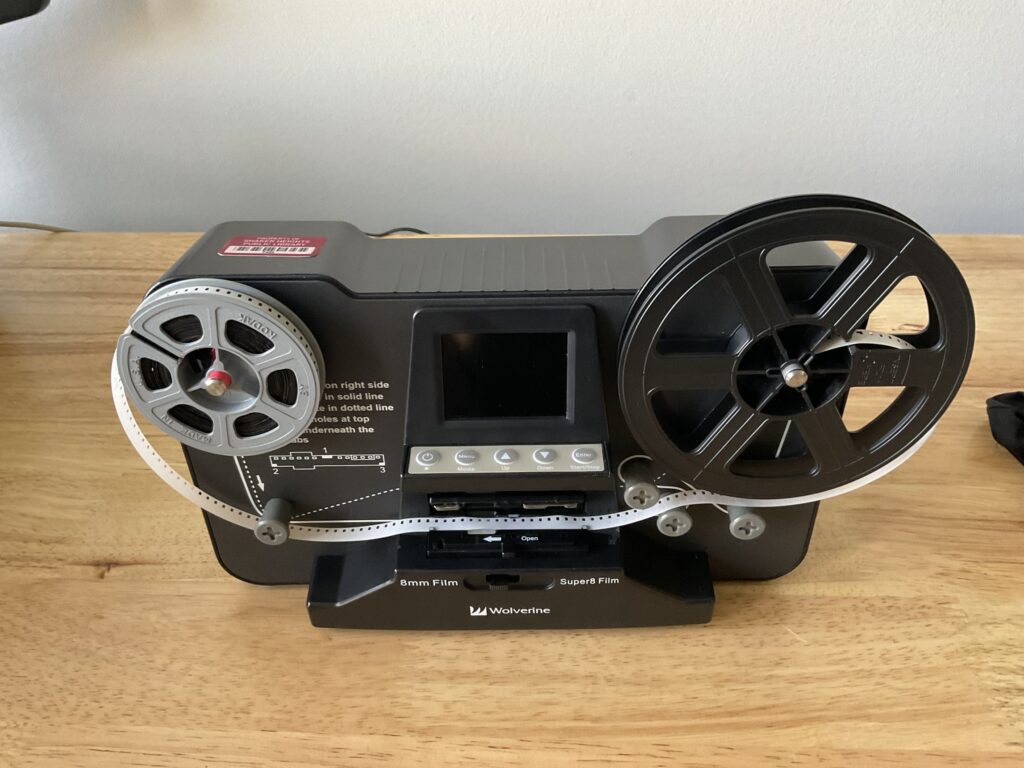
6. To align the film in the film table, twist and clip the film under the three white tabs. When properly aligned, press the film table door shut.
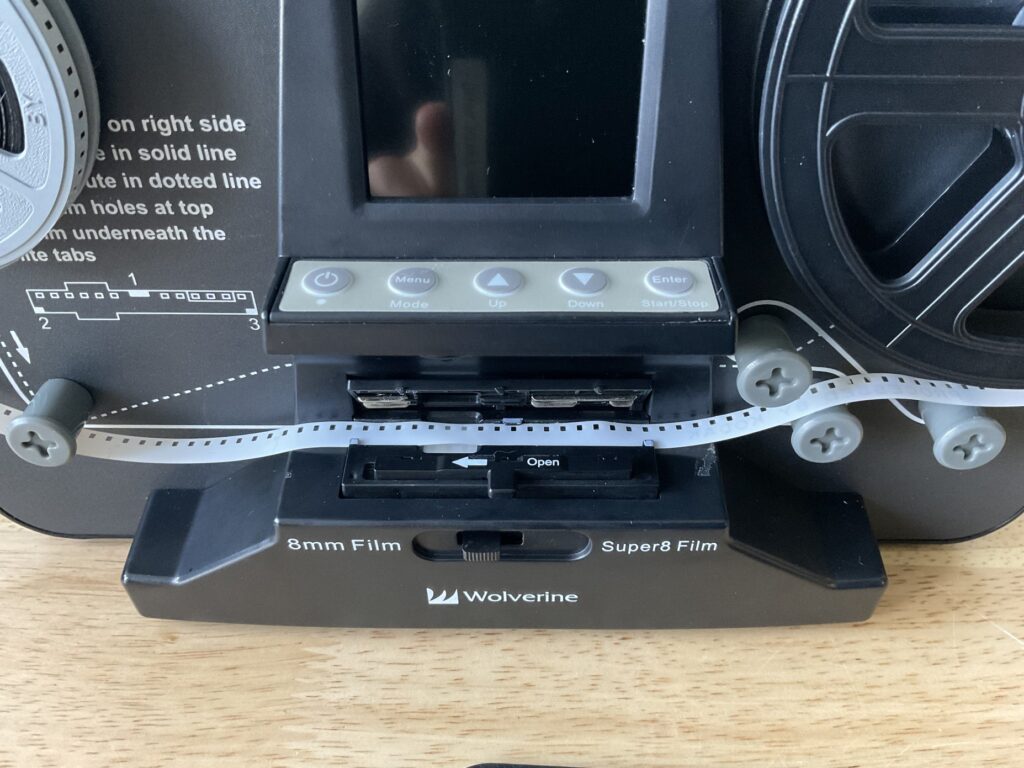
7. To record, slide the film selector lever left for 8mm or right for Super 8. Press Enter to select the film type and start recording.
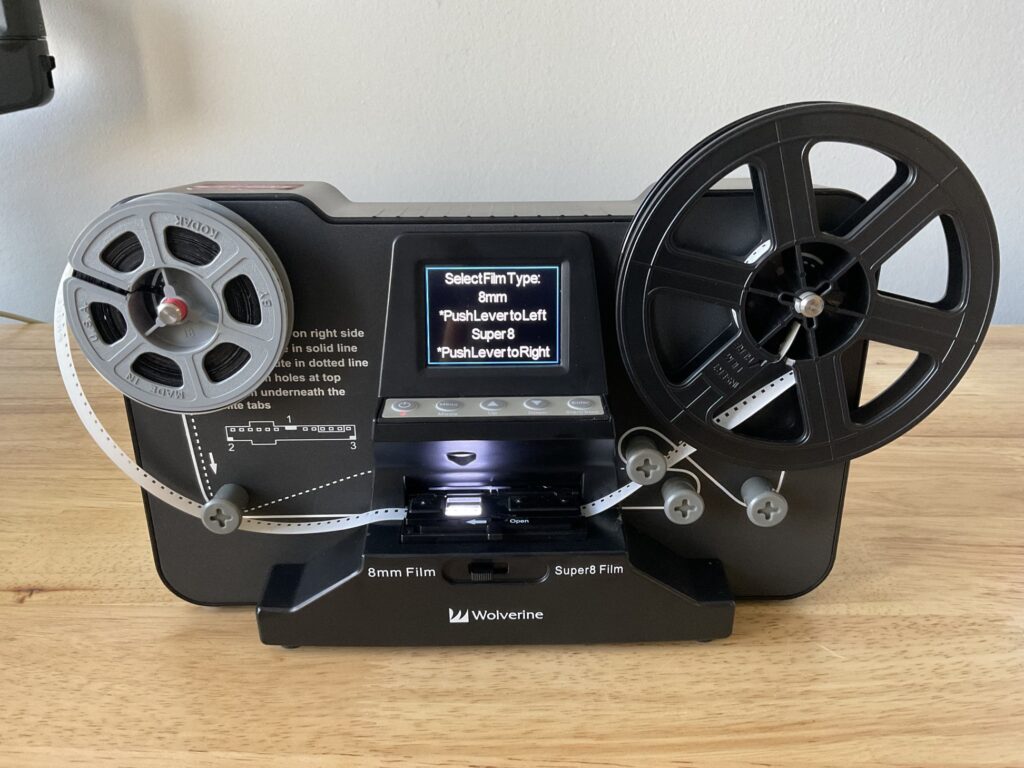
8. While the recording is in process, a red dot in the upper left-hand corner will blink.
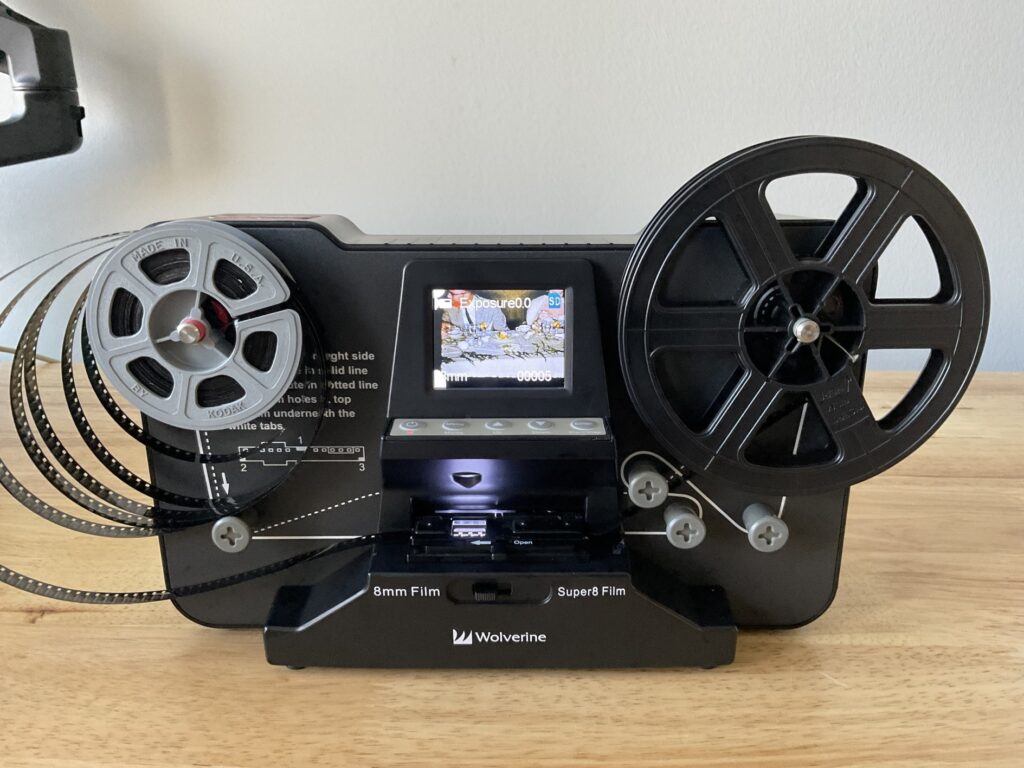
9. When your film is finished recording, press the Enter button. Next, open the flap door and remove your film. Then, close the flap door.
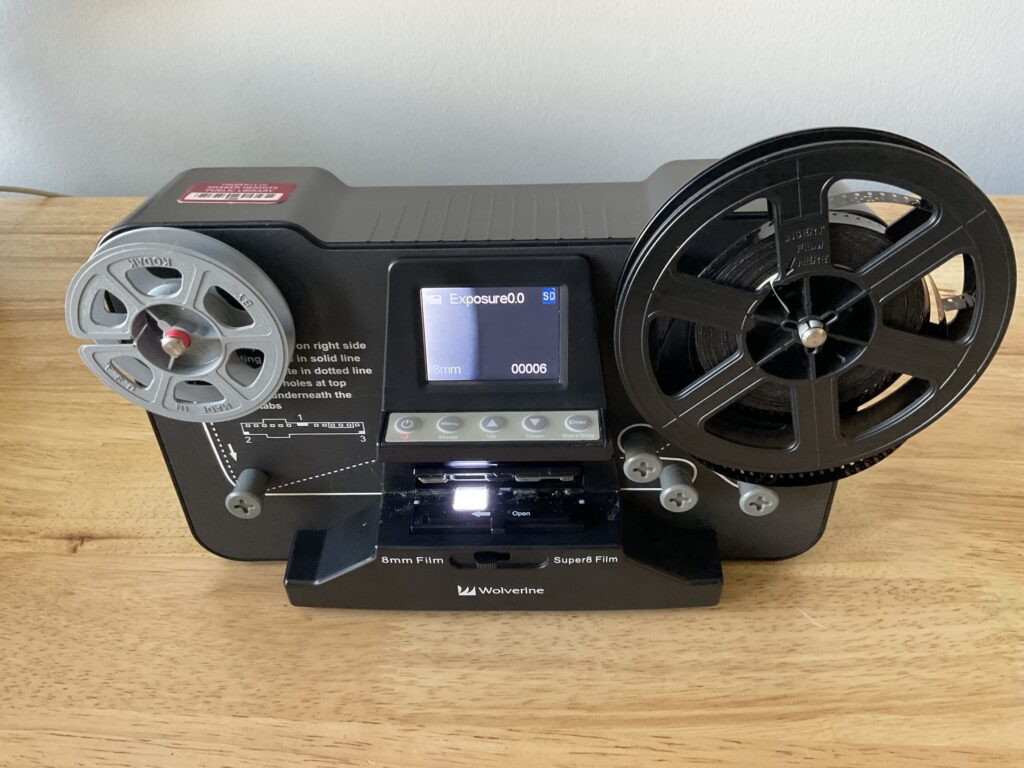
10. To rewind, swap the reels by placing an empty reel on the right side, your film on the left, and align the film perforation holes to face away from the MovieMaker.
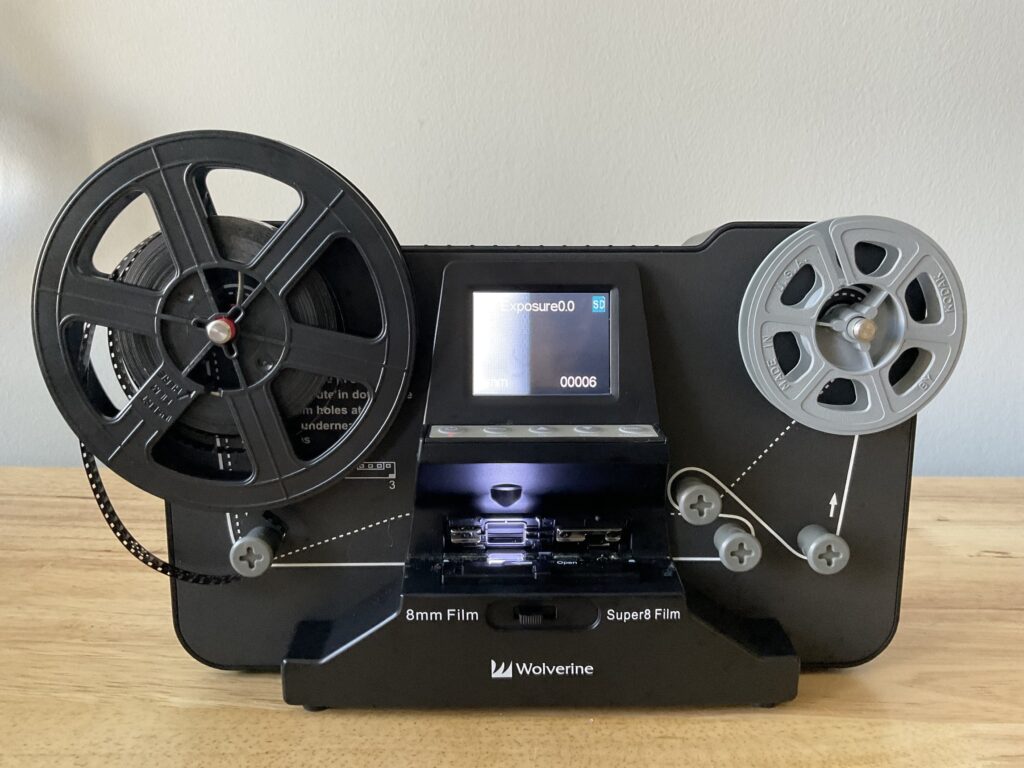
11. Follow the film routing diagram (dotted line) printed on the MovieMaker. Click the Menu button and use the down arrows and Enter button to select Rewind (More). The screen will instruct you to remove the film from the light table and swap reels, which you’ve already done.
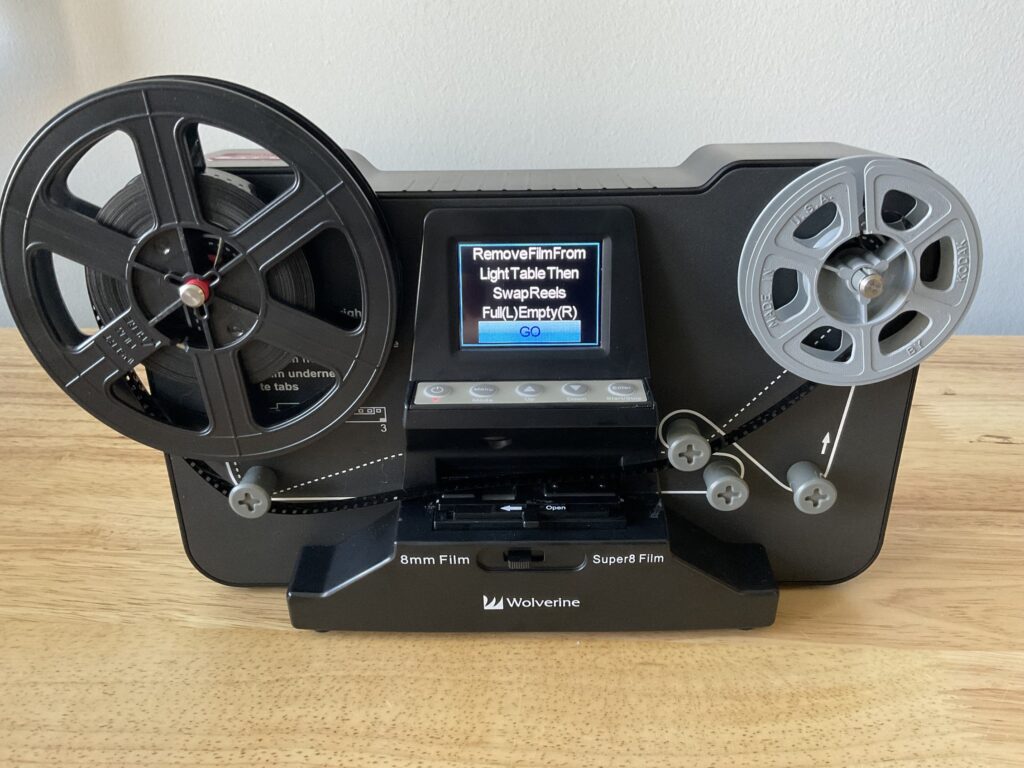
12. Press Enter and your film will rewind. Press Enter again when finished.
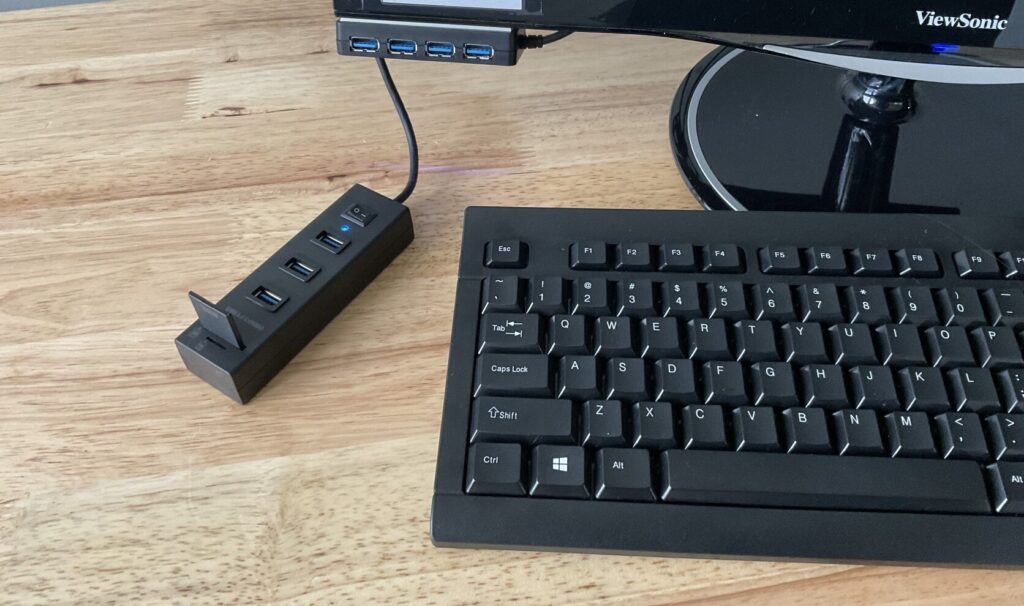
13. Remove your SD card from the MovieMaker and insert it into the SD USB adapter.
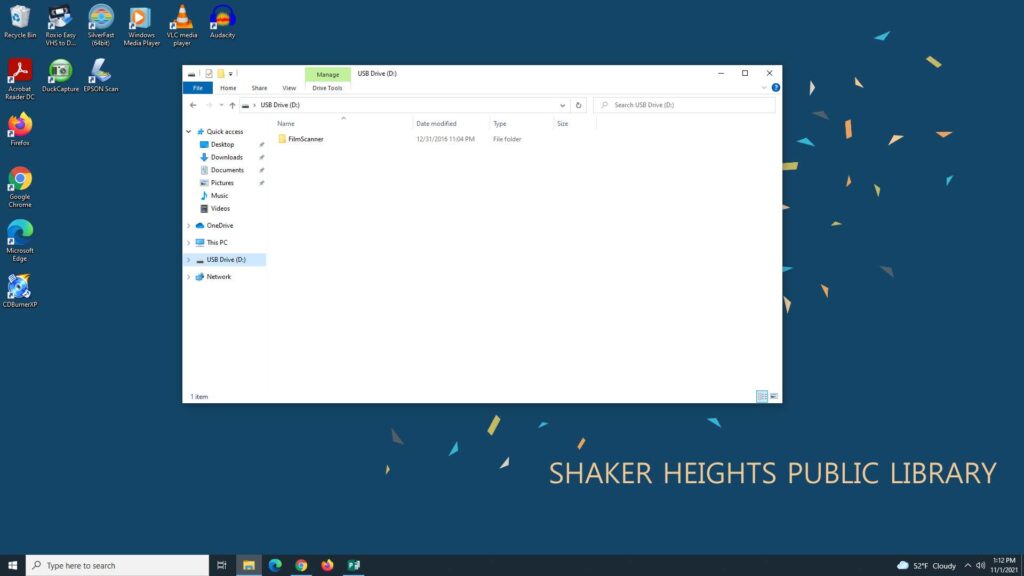
14. Click the File Explorer icon and then select the SD USB adapter to view its contents.
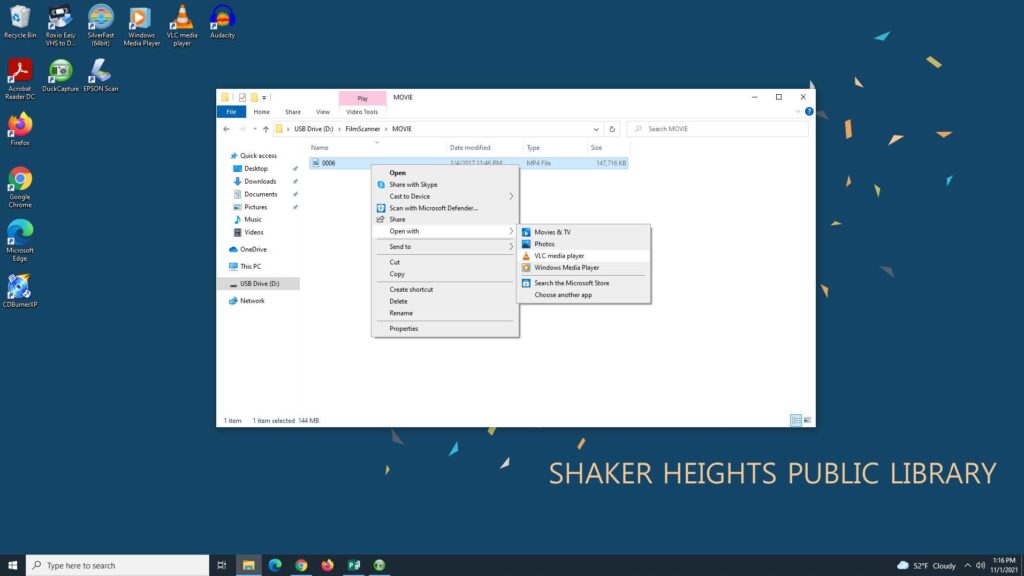
15. Open your video using the video player of your choice by right-clicking on the file and selecting a player from the list. In this example, we’ll use VLC media player.
16. Before exporting the video, you can watch the playback in the video player.
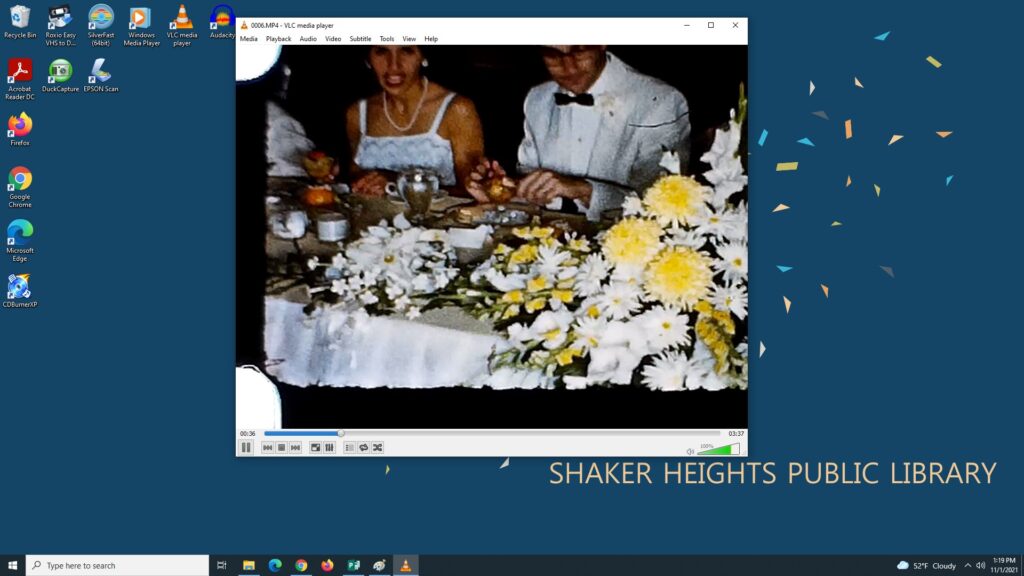
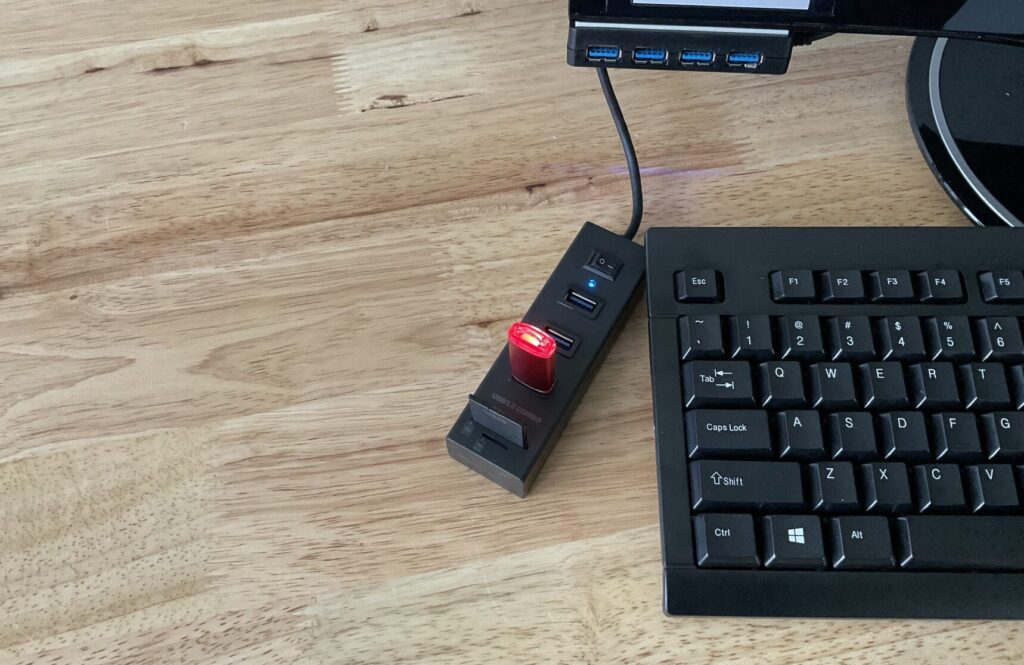
17. To save your video to a flash drive, insert a flash drive into the computer’s USB port.
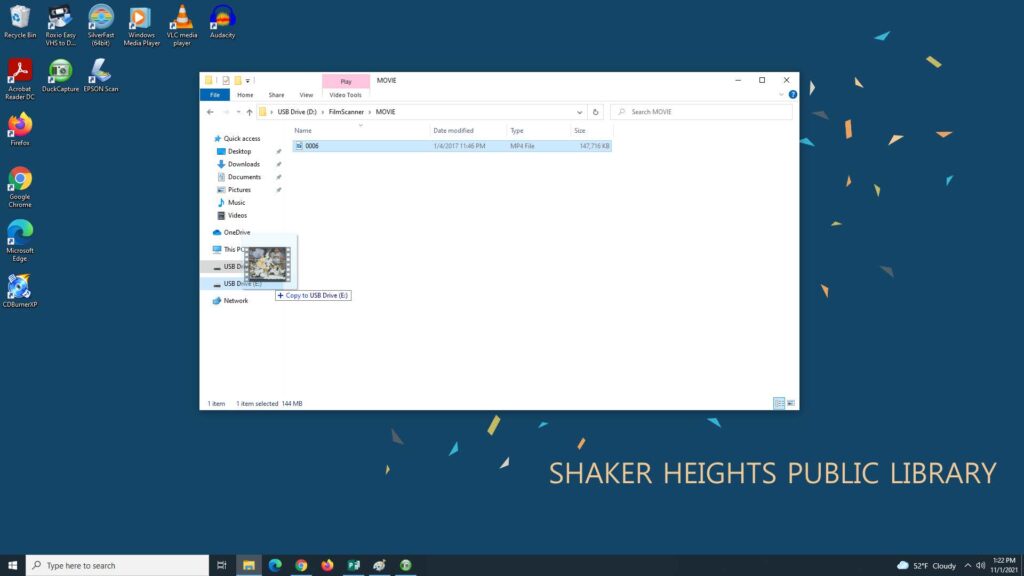
Next, drag and drop the video file from the SD USB adapter to your flash drive.
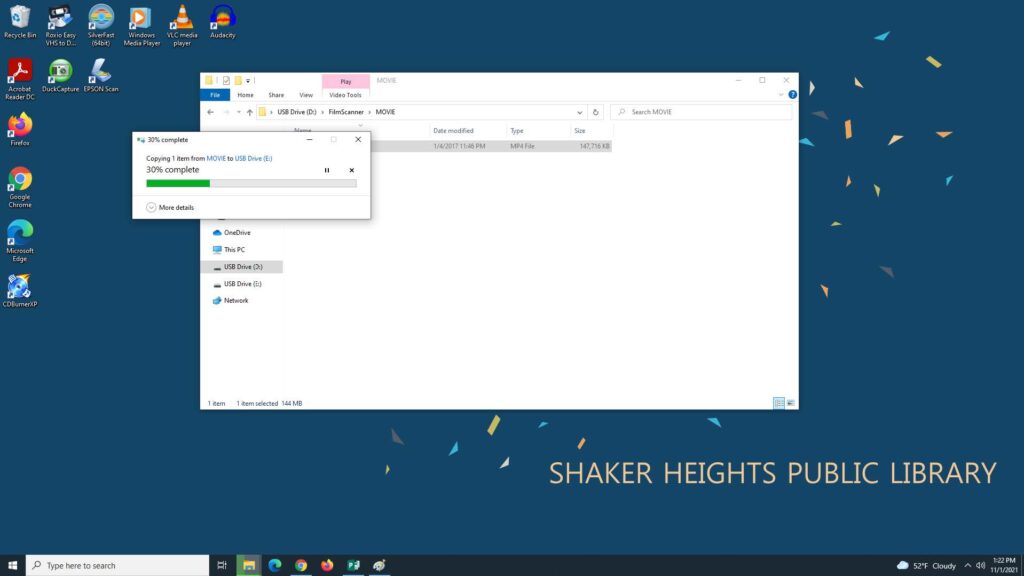
A dialog box will appear confirming that your video is saving to your flash drive.
Once your video is finished exporting, you can eject your flash drive from the computer by right-clicking on the flash drive and clicking Eject.
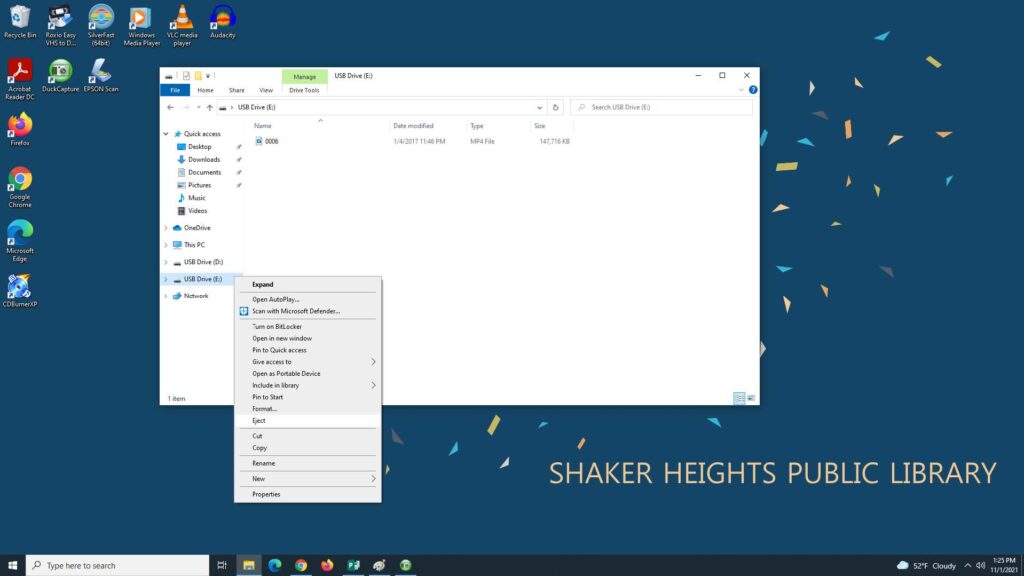
18. To upload your photos to a cloud-based storage platform, open the platform of your choice (Dropbox, iCloud, Google Drive, etc.) and then upload your files directly from the SD USB adapter in the computer’s File Explorer.
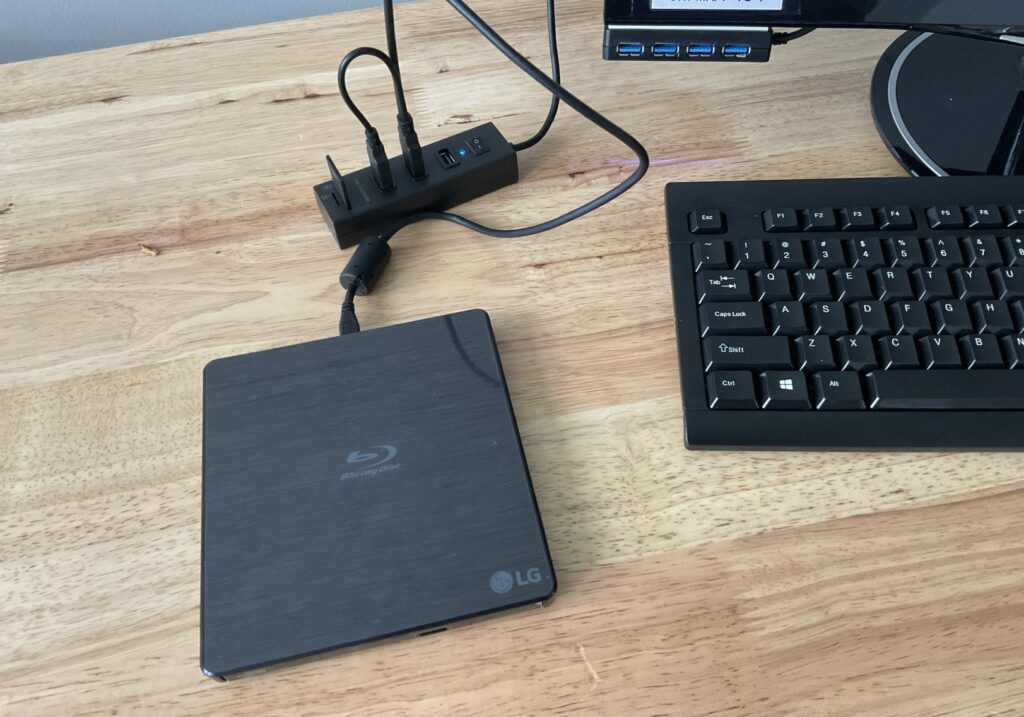
19. To burn your video to a DVD, start by inserting the Blu-Ray Disc Writer into the computer’s USB port.
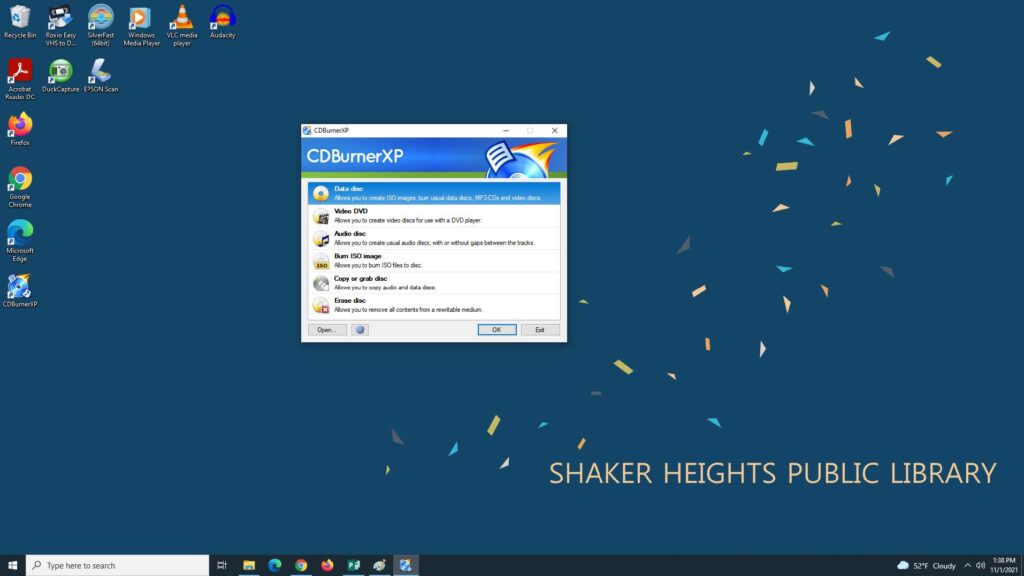
Next, open the CDBurnerXP software on the computer’s desktop. Then, select Data Disc from the list and click OK.
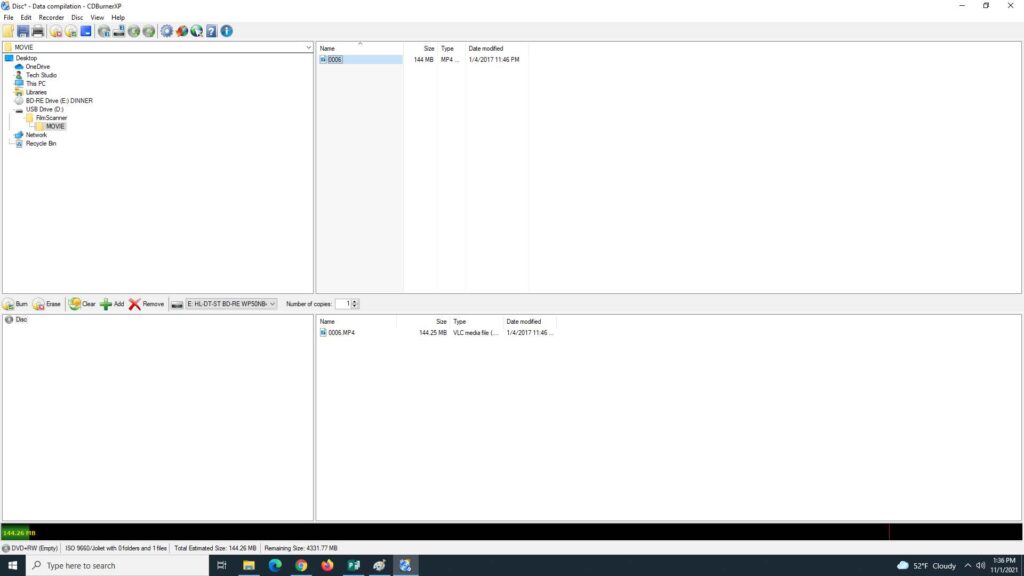
Next, locate your SD USB adapter in the top left corner of the screen. Your file will appear in the top right. Then, drag and drop your file into the bottom right corner. Finally, click the Burn button in the bottom left navigation panel.
Then, a dialog box will appear. Confirm your settings and click Burn Disc.
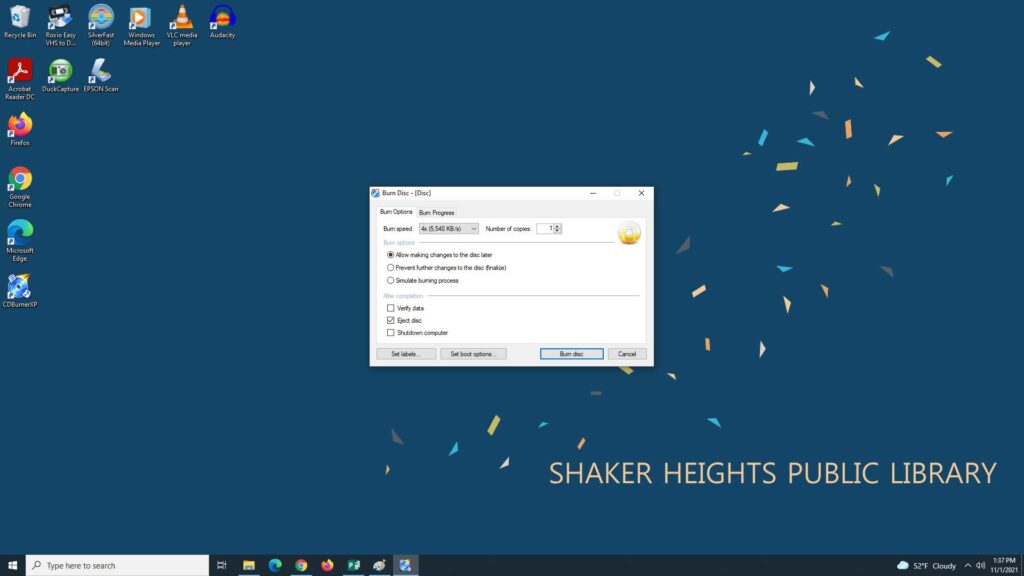
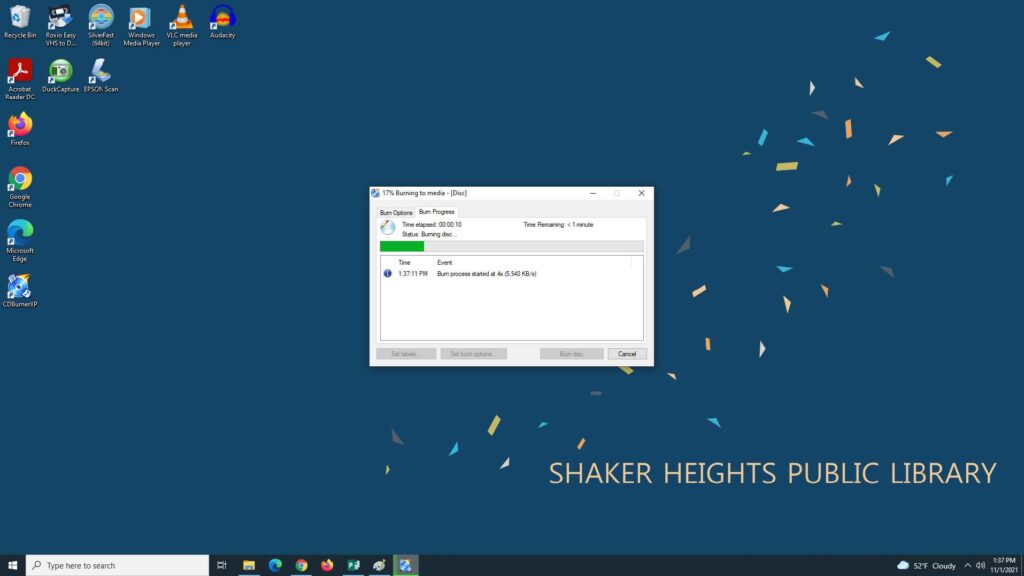
The dialog box will provide an update on the burn progress. Once finished, your DVD will automatically eject from the player and the burn is complete.