1. To digitize high-quality copies of your original photos, documents, slides, and film, you will use the EPSON Perfection V850 Pro Scanner.
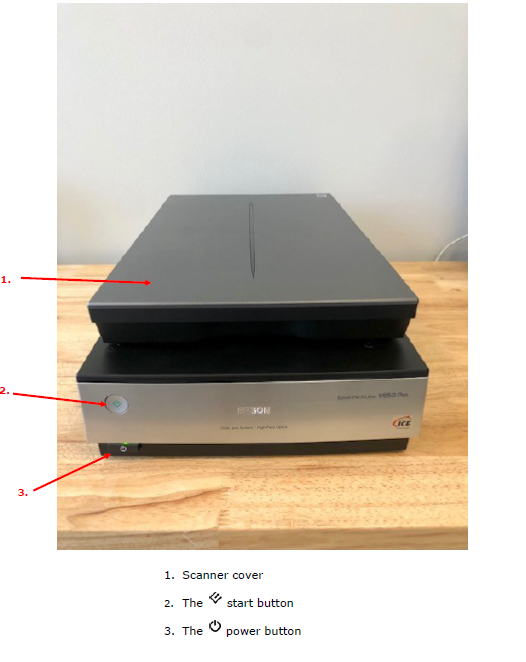
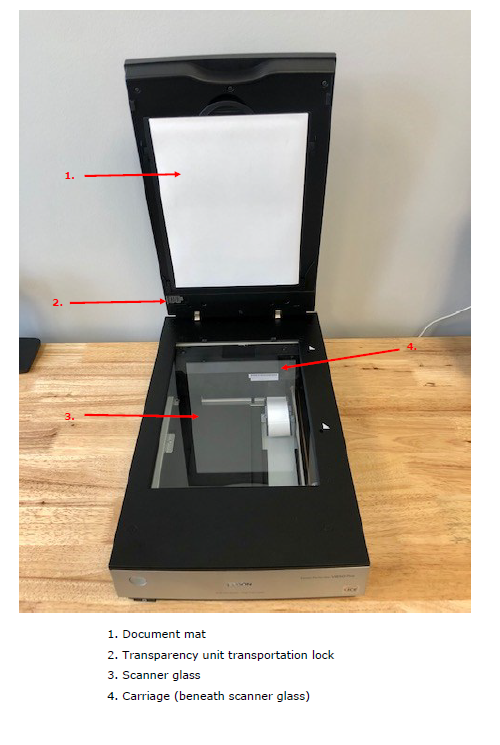
2. To scan original single-page documents, open the scanner cover and place your original facedown on the scanner glass, sliding the original to the edges of the top-right corner.
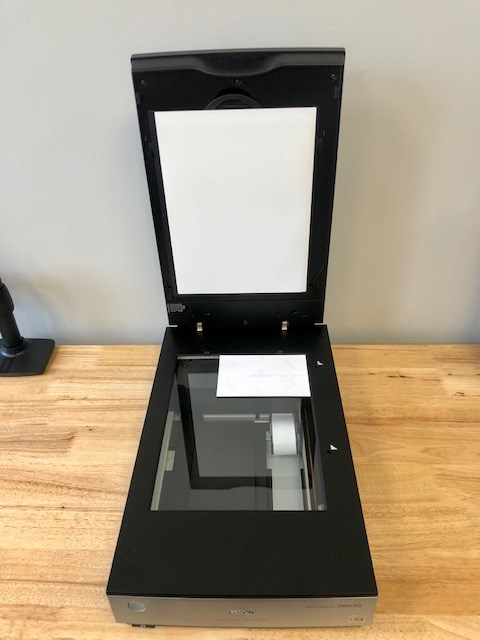
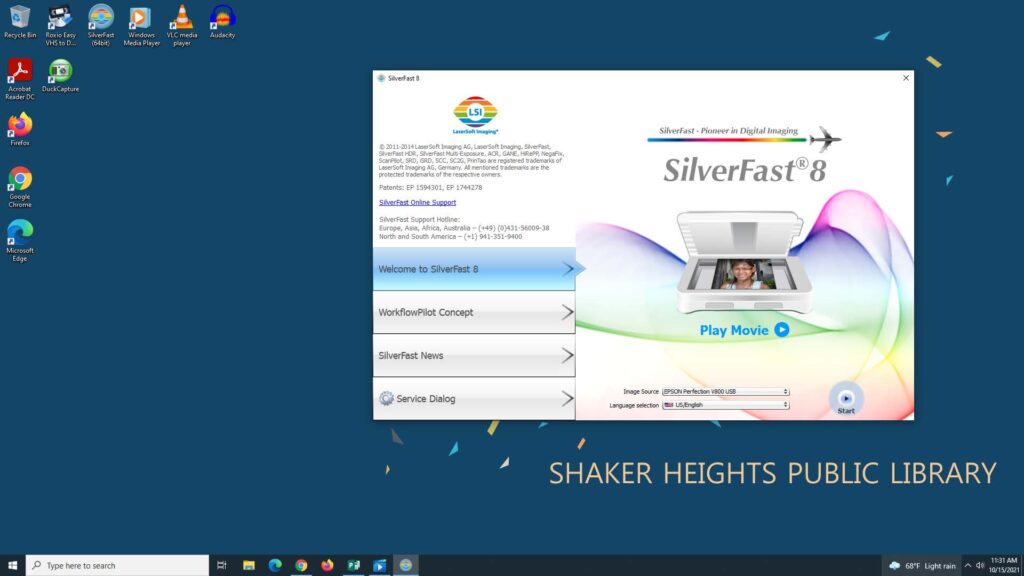
2. Once your original is on the scanner and the scanner cover shut, open the SilverFast SE Plus software and click Start.
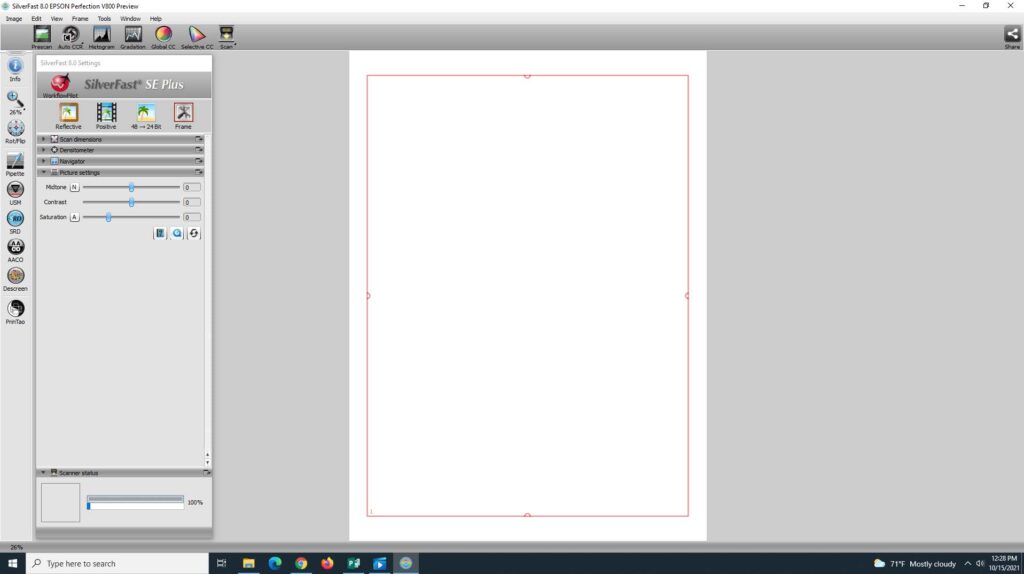
3. Click the WorkflowPilot icon in the upper left-hand corner. Once activated, it will turn blue.
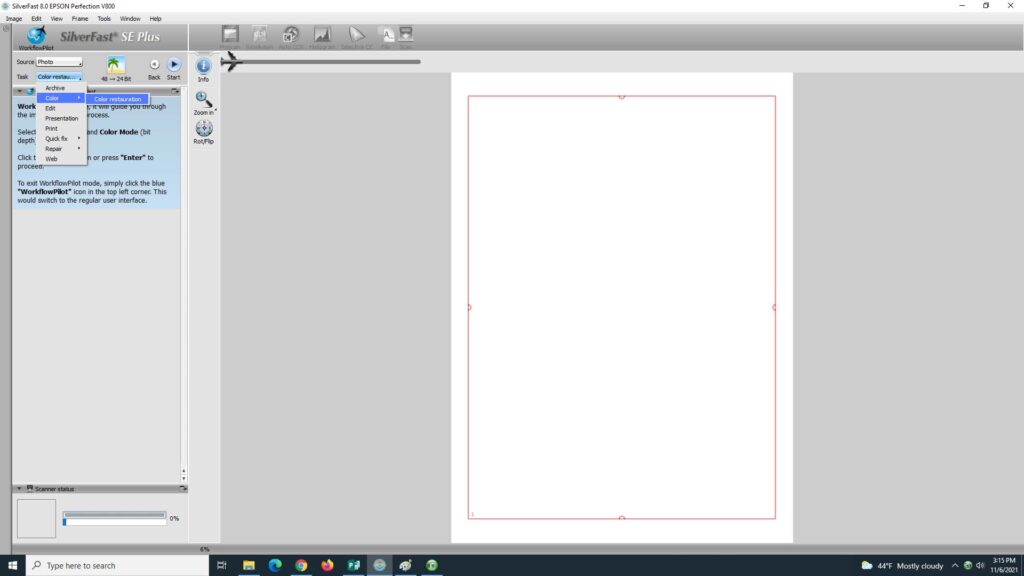
4. Select your Source (photo, print, negative, slide) and Task. Setting the Task Color– Color Restoration is recommended, but each photo is different and you can experiment to see what works best for you. Click the blue Start button to begin scanning.
5. The scanner will now Prescan your original.
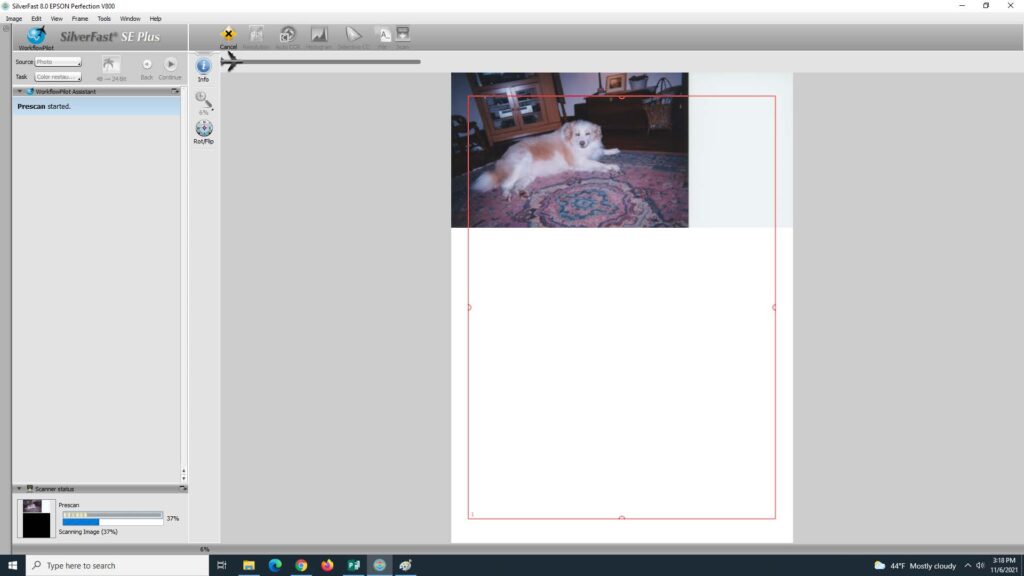
6. Drag the borders of the red scan frame to choose the scan area. Then, select the scan resolution using the panel on the left-hand side. Click Continue.
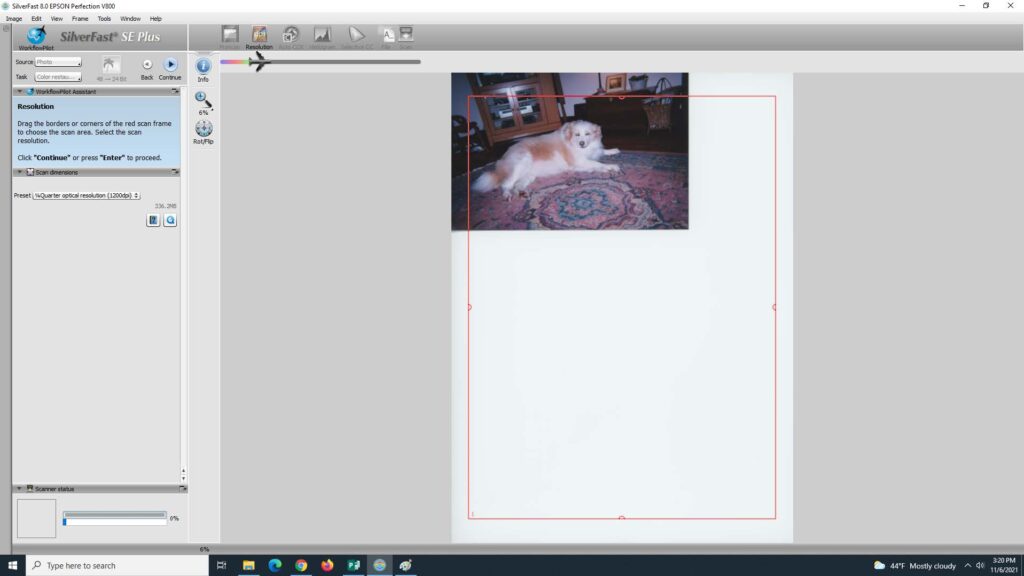
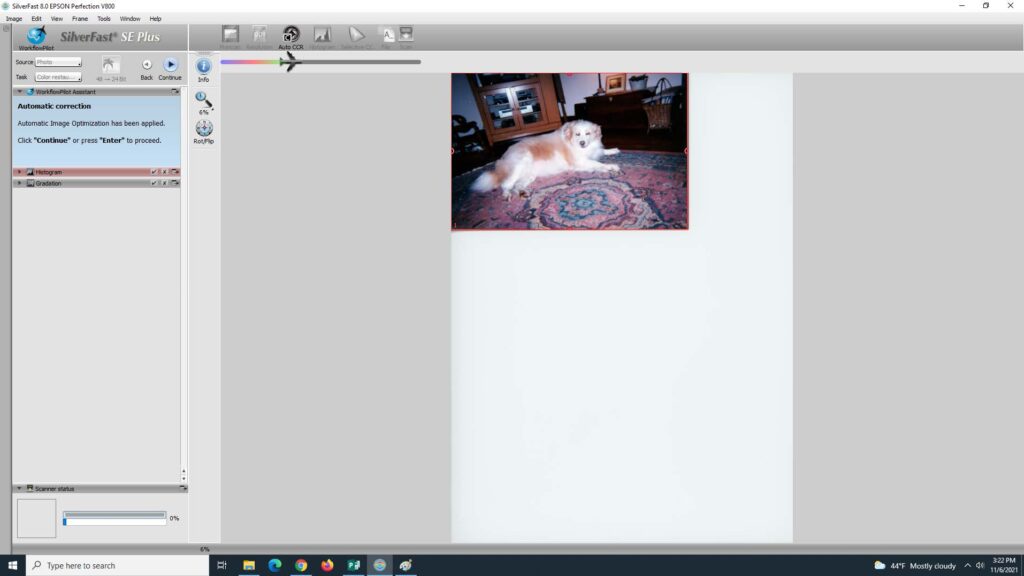
7. Next, Automatic correction is applied, and you have the option to do additional color correction using the Histogram and Gradation editors in the left side panel. Click either to expand and edit. When finished, click Continue.
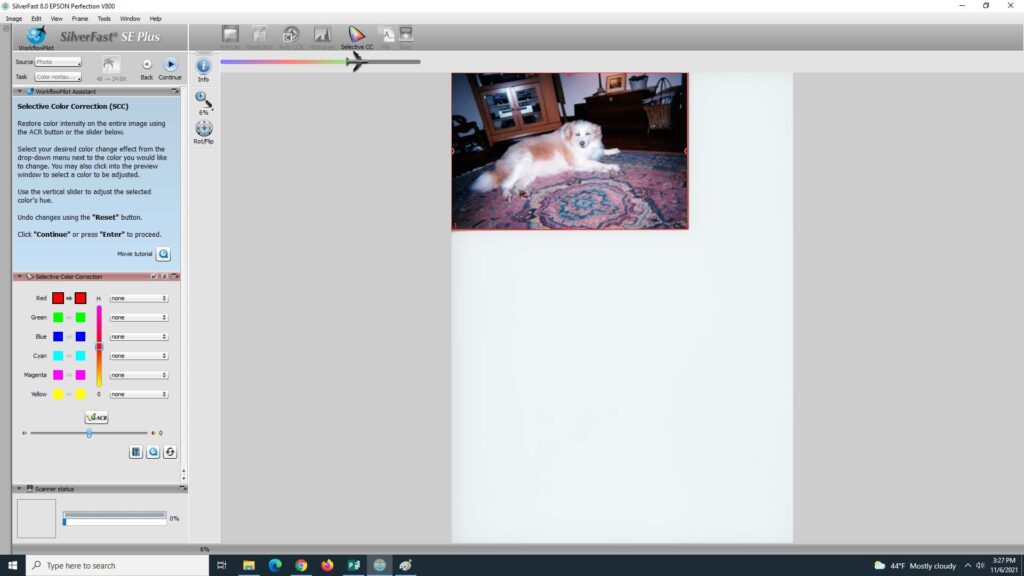
8. You now have the option to apply Selective Color Correction. When satisfied, click Continue.
9. Title your image, choose your file format, save-to location (select Desktop), and click Continue. Your final scan will start.
- DNG is recommended for most users due to its flexible and compatible format.
- TIFF is recommended for photographers and graphic designers
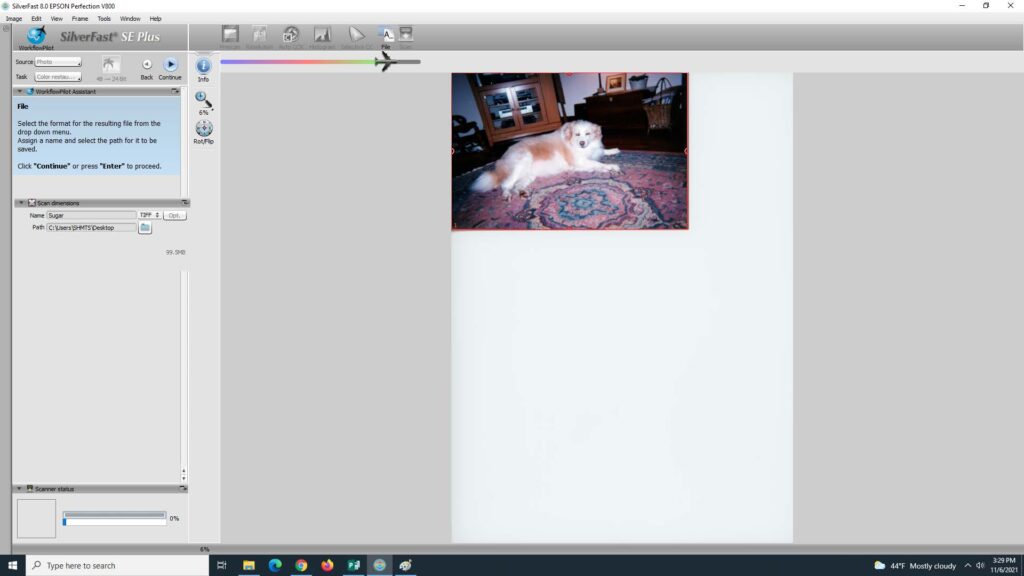
For more information about using the SilverFast software to scan and edit your pictures, visit SilverFast online support here: https://helpcenter.silverfast.com/hc/en-us.
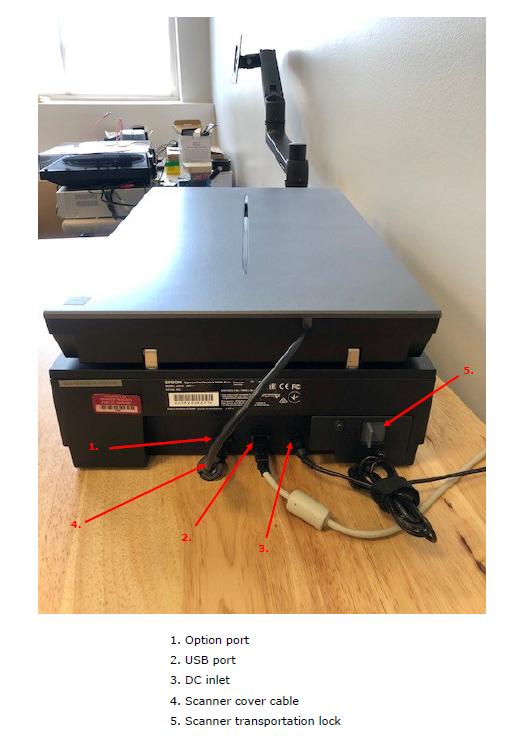
10. To scan thick documents, like a book or magazine, you can remove the scanner cover. Press the power button to turn off the scanner. Then, disconnect the cover cable.
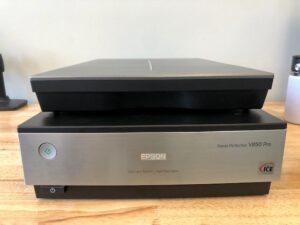
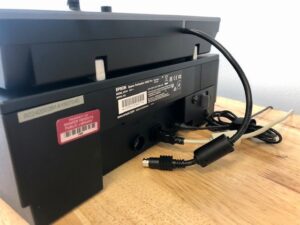
Then, open the scanner cover and pull the scanner cover straight up and off the scanner. Press the power button to turn the scanner back on.
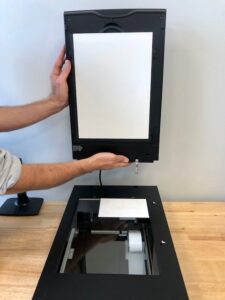
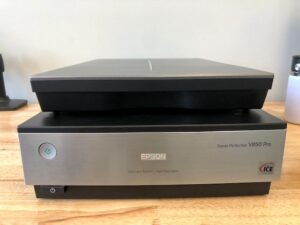
Place your document facedown on the scanner glass. Press down on your document to flatten it and hold the document down as you scan. When you are finished scanning, turn the scanner off, replace the scanner cover, and reconnect the cover cable.

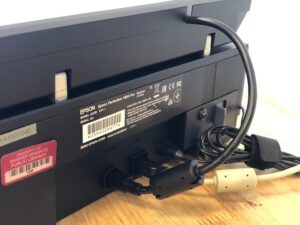
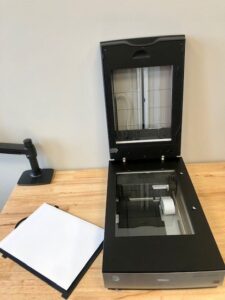
11. To scan film or slides, begin by opening the scanner cover and remove the document mat from the scanner by sliding it out from inside the scanner cover.
Note: make sure the transparency unit transportation lock is unlocked (left-hand side).
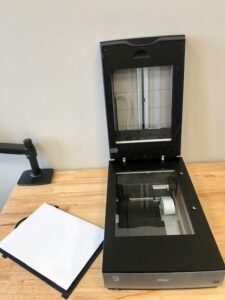
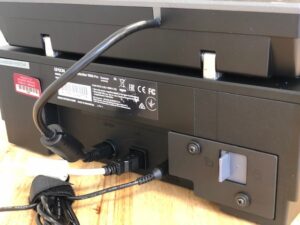
To scan 35 mm film strips on the scanner, use the 35 mm film strip holder. Note: hold only the edges of the film strips to avoid damaging the film. Open the scanner cover and remove the document mat. Grab the 35 mm film strip holder and slide film strips with the shiny side facing up. You can slide up to three film strips in the holder.
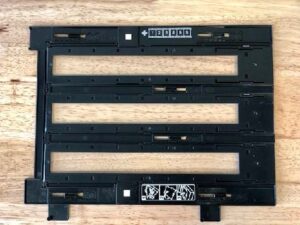
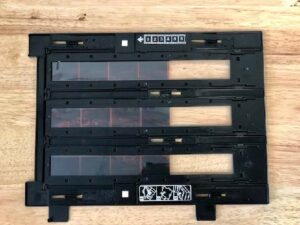
Close the open holder covers and press down until they click into place. Make sure film strips are not pinched or curled. Then, flip the film holder over. Open the scanner cover, remove the document mat, and place the holder on the glass as shown, aligning the arrows on the holder with the arrows on the scanner. Then, close the scanner cover to keep the holder in place.
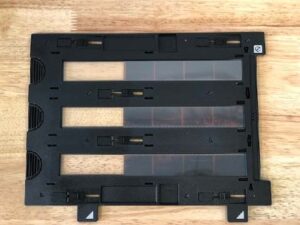
To scan 35 mm slides, you will need to use the slide holder. Start by placing up to 12 slides into the slide holder with the shiny sides facing down.
Note: The images should appear backward; the top of the images should face the open end of the slide holder.
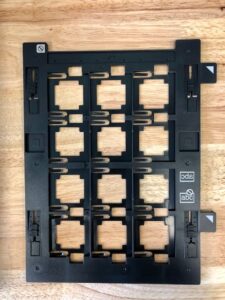
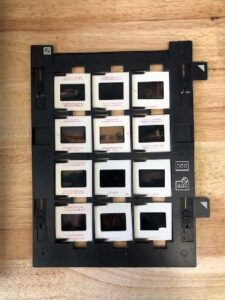
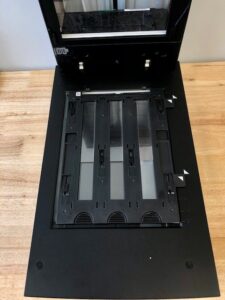
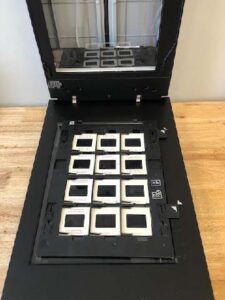
Next, open the scanner cover and remove the document mat. Place the holder on the scanner glass like shown in the picture below. Align the arrows on the holder with the arrows on the scanner. Close the scanner cover to keep the film holder in place.
12. When satisfied with your images, you can save them to a cloud-based storage platform, a flash drive, or burn them to a DVD.
13. To upload your photos to a cloud-based storage platform, open the platform of your choice and then upload your files directly from the desktop.
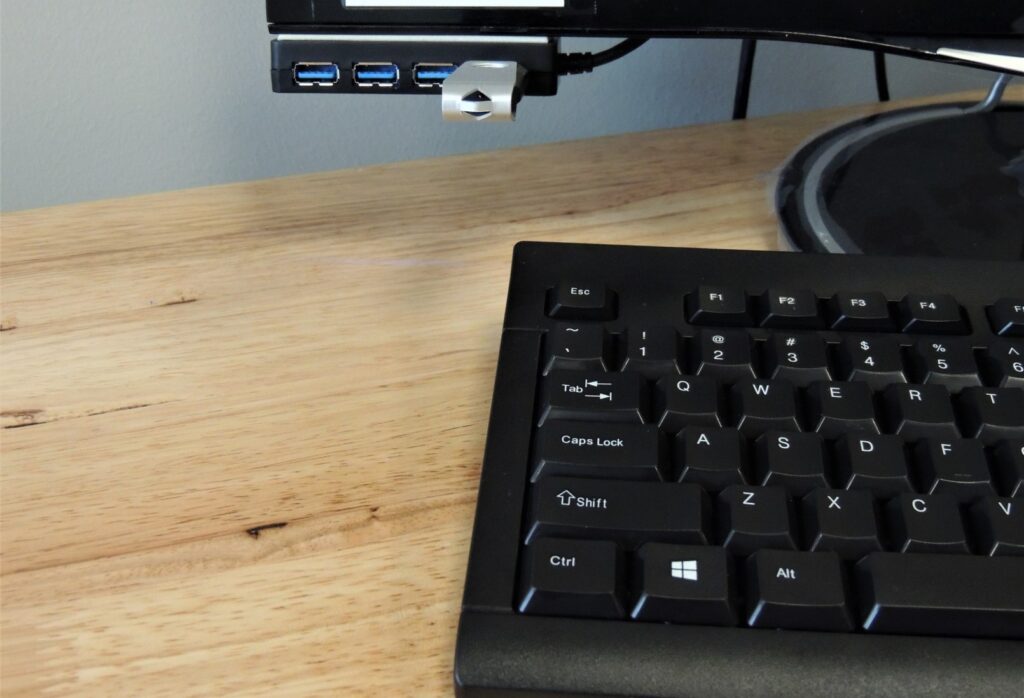
14. To upload your images to a flash drive, insert your flash drive into the computer’s USB port.
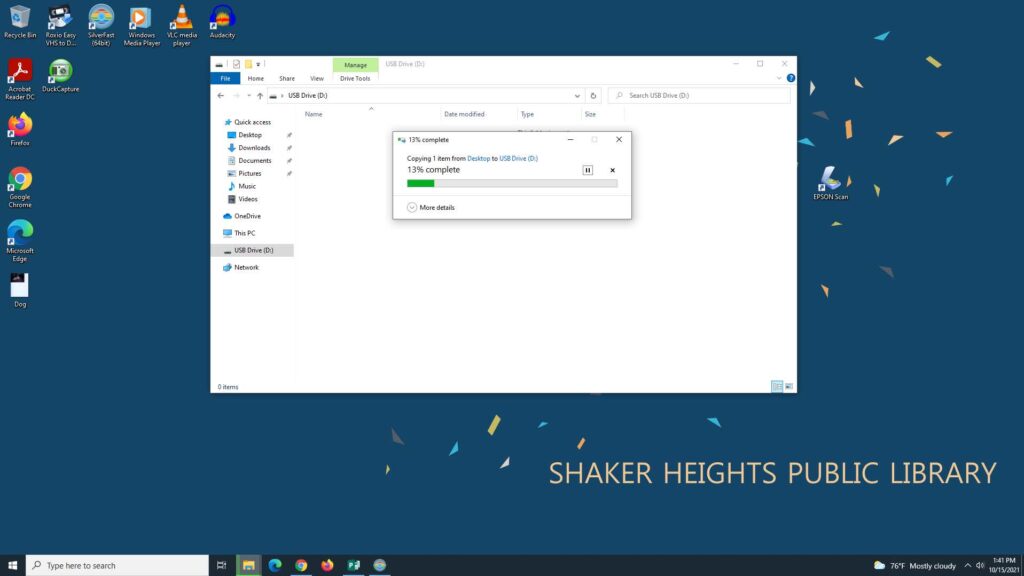
Next, drag your images to the USB Drive to upload. A dialog box will appear with an upload status. Once uploaded, eject your flash drive.
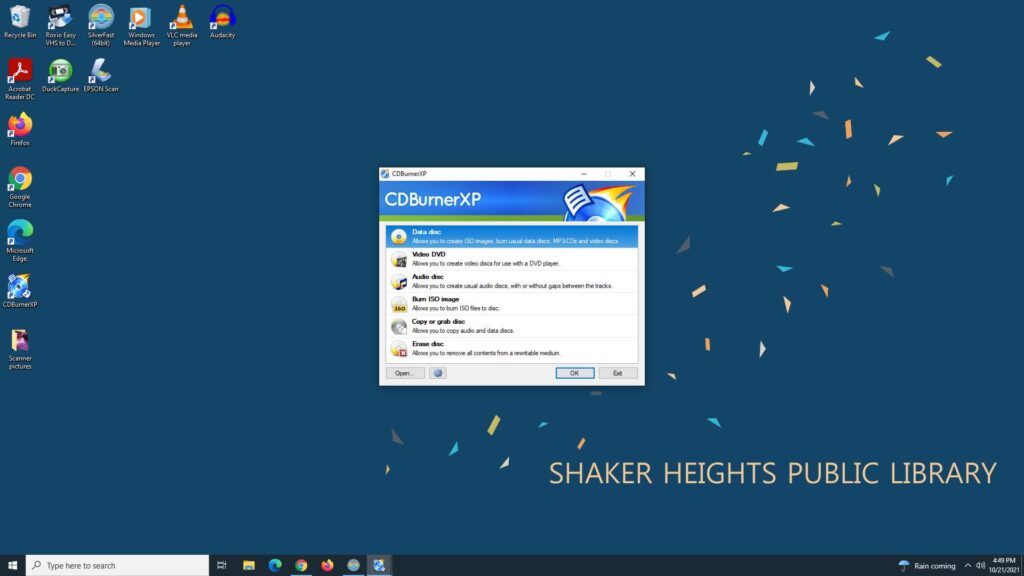
15. To burn your images to a DVD, you’ll use the CDBurnerXP software. Click the software icon on the desktop to begin.
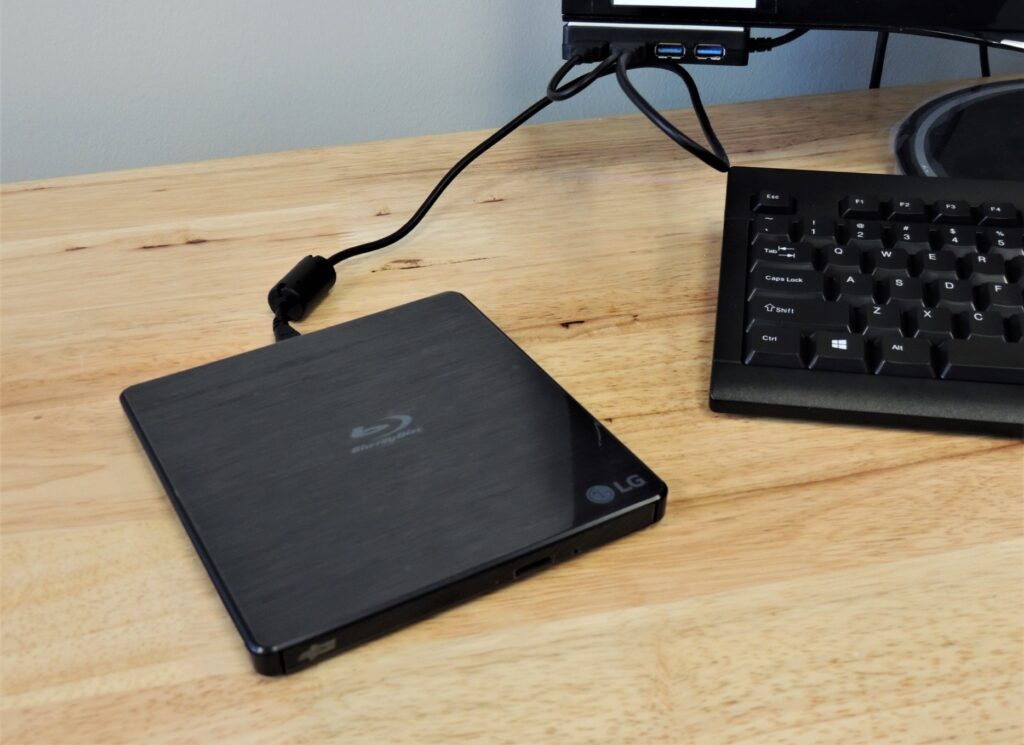
Next, connect both USB cords from the Blu-ray Writer to the USB ports and insert your blank DVD.
Select Data disc from the list and click OK.
Next, drag and drop your images from the desktop into CDBurnerXP and click Burn.
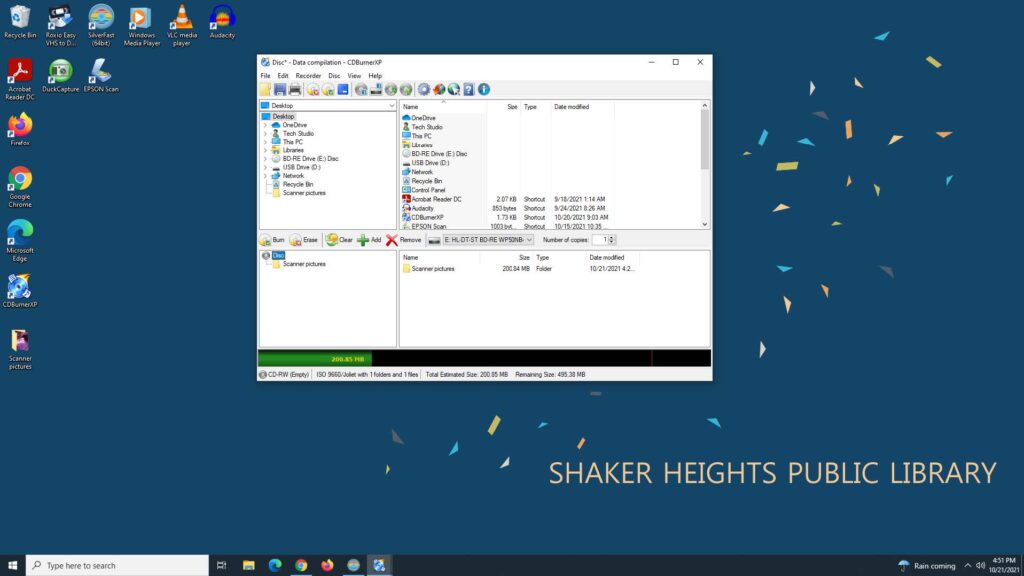
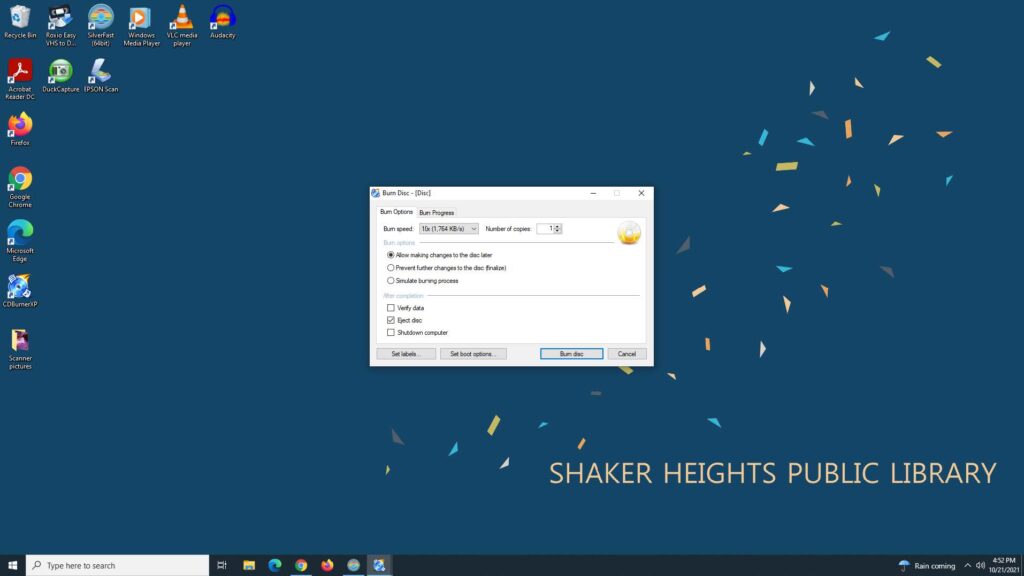
Choose your settings and click Burn Disc.
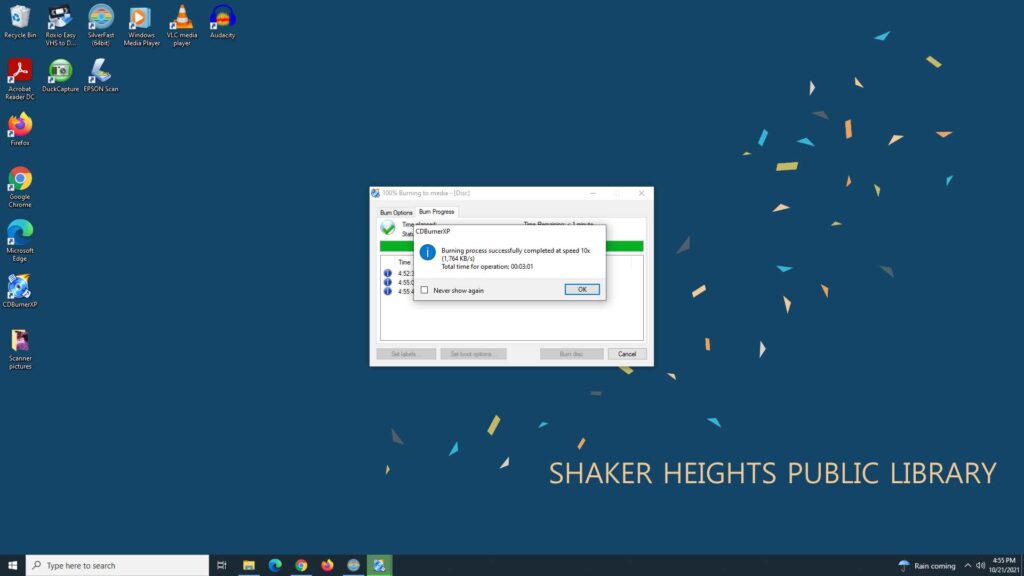
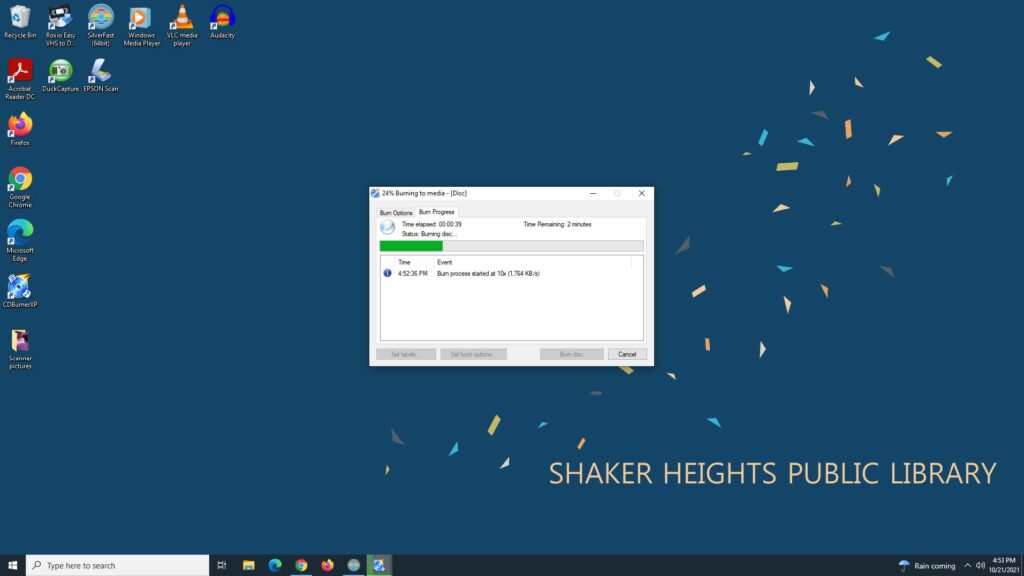
While burning, you will see a Burn Progress dialog box.
When your images are finished burning, you will see a confirmation dialog box.
